Instead of buying cheap, mass-produced gewgaws to give out this season, show your loved ones you care with a little DIY. During Grist’s 12 days of DIY gifts, we’ll share some crafty projects, with instructions that even we can follow. There’s sure to be a whatsit or wowsit for everyone.
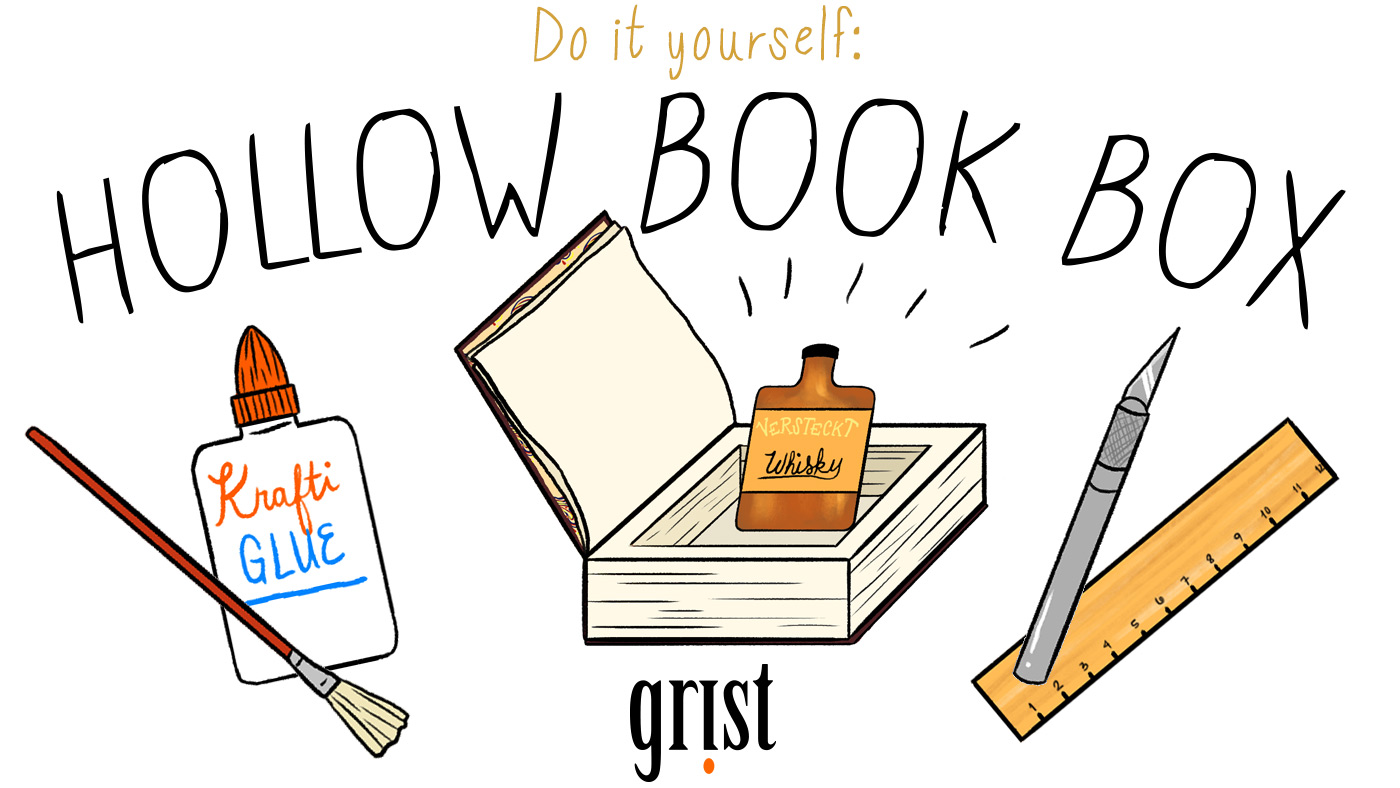
Everyone has secrets. Some of us keep them in boring old shoeboxes. And some of us — the best of us, really — make old books into the hidden compartments a Victorian spy would be proud of. Just do us a favor and pick a really boring book — no one will ever open it!


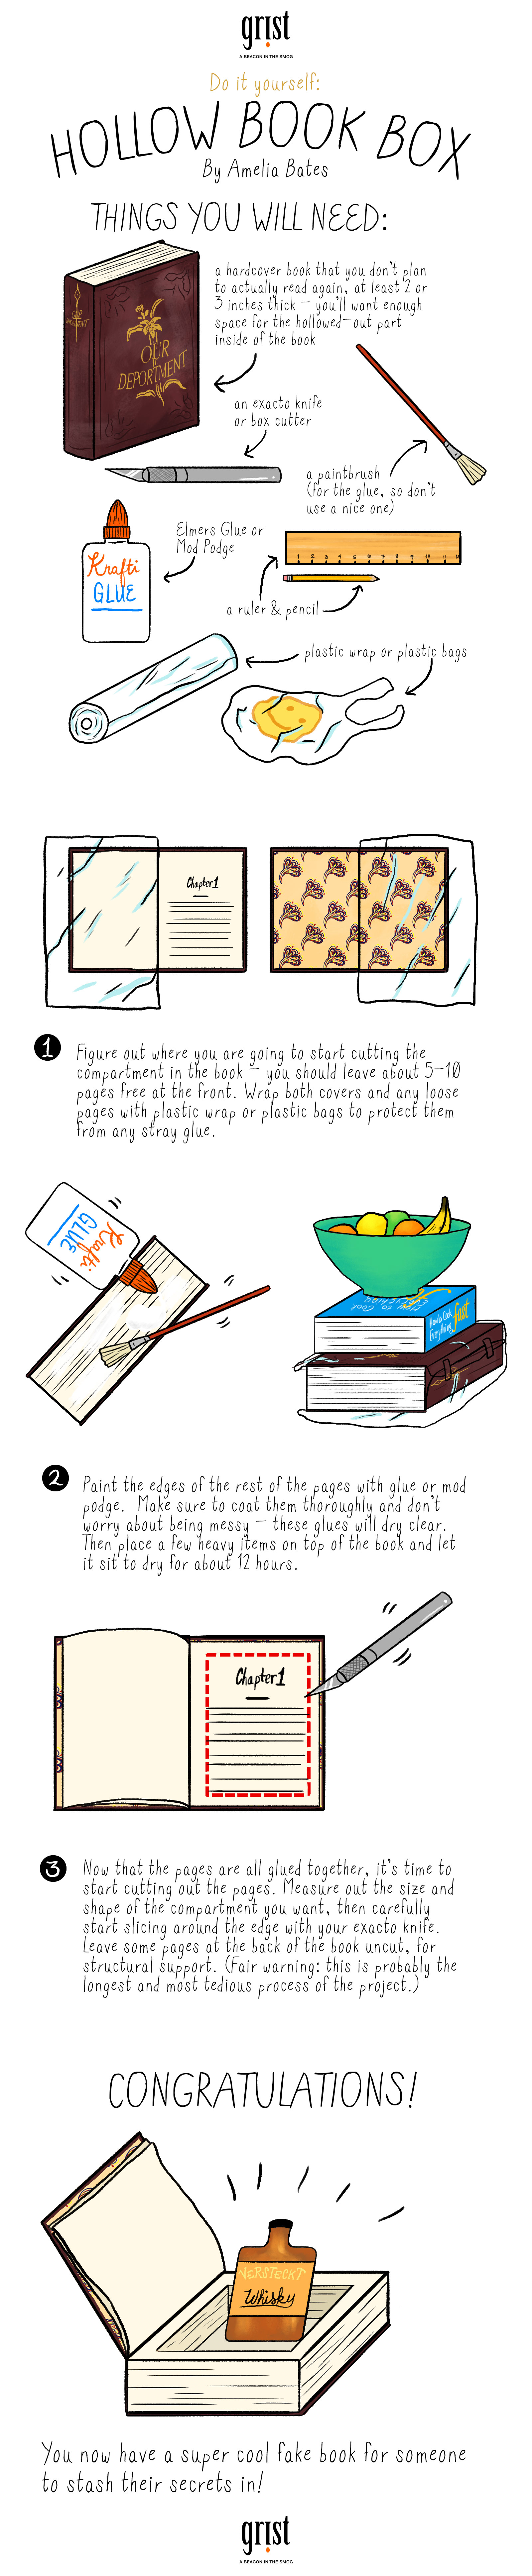
- A hardcover book that you don’t plan to actually read again, at least 2 or 3 inches thick — you’ll want enough space for the hollowed-out part inside of the book
- An exacto knife or box cutter
- A paintbrush (for the glue, so don’t use a nice one)
- Elmers Glue or Mod Podge
- A ruler and pencil
- Plastic wrap or plastic bags (to protect the book during the gluing process)

![]()


Figure out where you are going to start cutting the compartment in the book — you should leave about 5-10 pages free at the front. Wrap both covers and any loose pages with plastic wrap or a plastic bag to protect them from any stray glue.


Paint the edges of the rest of the pages with glue or mod podge. Make sure to coat them thoroughly and don’t worry about being messy — these glues will dry clear. Then, place a few heavy items on top of the book and let it sit to dry for about 12 hours.


Now that the pages are all glued together, it’s time to start cutting out the pages. Measure out the size and shape of the compartment you want, then carefully start slicing around the edge with your exacto knife. Leave some pages at the back of the book uncut, for structural support. (Fair warning: This is probably the longest and most tedious process of the project.)

You now have a super cool fake book box for someone to stash their secrets in!
![]()
Click below to get the