I’ll admit I’m a big advocate of making your own sweets for Valentine’s Day. Luckily, this year, that includes classic candies like conversation hearts. It’s beyond fun and relatively easy, involving just a few ingredients and an understanding of the basic technique.
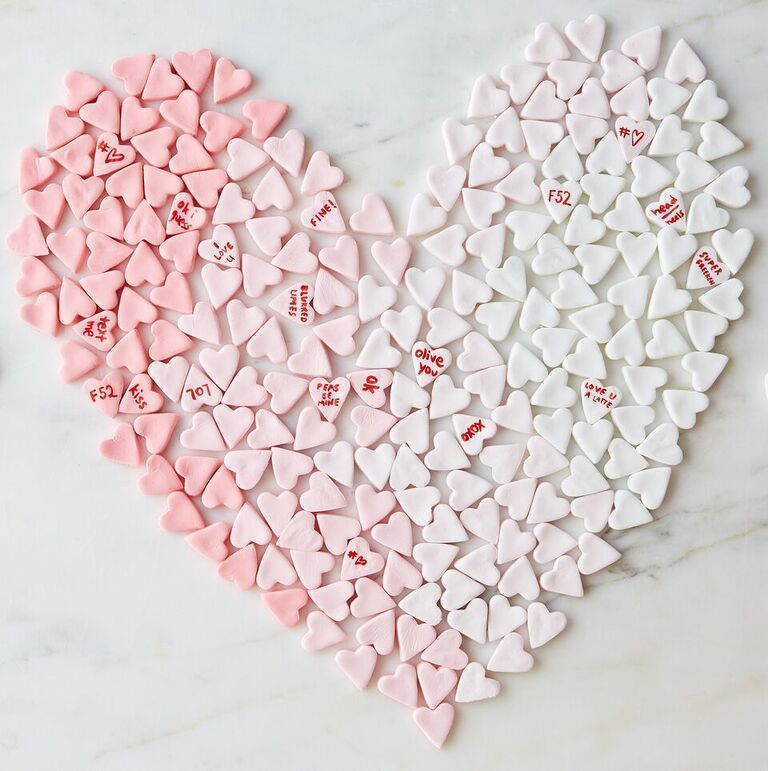
Plus, there’s no end to the fun you can have inscribing them with messages, from classic phrases, to your own names and dates, and (my favorite) witty should-be conversation heart standards.
Whether you finish them all or let your Valentine write his or her own, these hearts will really start a conversation (and they taste great too)!

Food52 / Bobbi Lin
First, the process.
1. Introducing pastillage
Pastillage is a paste, made from confectioners’ sugar, liquid, and a small amount of gelatin. It’s used to make certain types of candy and edible decorations for pastries and cakes. Much like rolled fondant, pastillage is very smooth and easy to roll. It can be flavored with extracts or essential oils and color can be added depending on the desired effect. When left to dry, pastillage becomes firm to the bite.
Food52 / Bobbi Lin
2. Ingredients
As stated above, pastillage itself is made from confectioners’ sugar, a liquid (in the case of this recipe, water, but it could be juice or another ingredient with added flavor), and a small amount of gelatin. On its own, pastillage has no real flavor, just sweetness, so it’s common to add flavoring when it’s being used as a candy (when used solely for décor, the taste matters less).
Food coloring can also be added, and I like to use it to discern between different flavors, if I’m using multiple.
Finally, you’ll need edible ink pens to write messages on the finished candy. You can order these online or purchase them at cake decorating supply stores.

Food52 / Bobbi Lin
3. Equipment
You’ll need a heat-safe dish for blooming and melting the gelatin; I like to use a Pyrex liquid measuring cup, It’s easiest to mix the pastillage in an electric stand mixer fitted with the paddle attachment, though later in the process, you’ll mix it by hand, too. You’ll need a rolling pin for rolling out the dough (some folks will find that parchment/wax paper/Silpats can help here too) and a small cutter for cutting each piece. I used hearts, but you could always use basic circles, yielding a result much like a Necco Wafer. Finally, you’ll need two to three baking sheets lined with parchment for the candies to dry on after they’ve been cut.
4. Mixing the dough
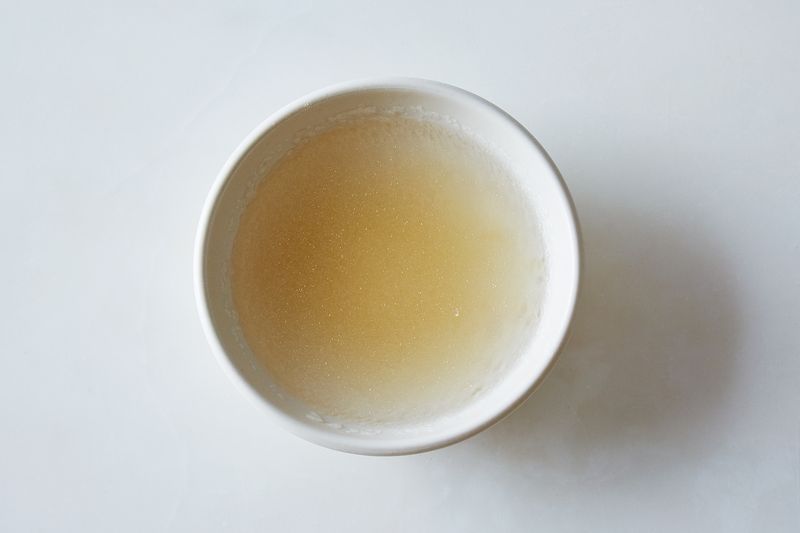
The first step of preparing the pastillage is to bloom the gelatin. Pour the water into a heat-safe dish and sprinkle the gelatin evenly over the surface. Allow it to bloom for five minutes, then melt the gelatin in the microwave, using 10-second bursts until it’s fully dissolved.
Food52 / Bobbi Lin
Pour the melted gelatin into the bowl of an electric stand mixer fitted with the paddle attachment. Add the confectioners’ sugar one cup at a time and mix on low speed until fully incorporated.
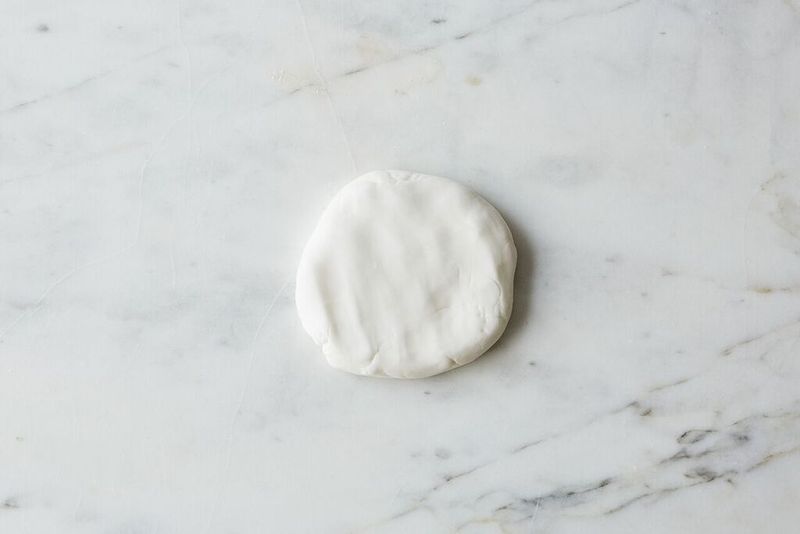
Continue adding confectioners’ sugar and mixing until the mixture is smooth and resembles a white dough. The dough shouldn’t be sticky, but it should be firm to the touch.
Divide the dough into even pieces, depending how many flavors and colors you’re planning to make (I did four). Wrap each piece tightly in plastic wrap: It’s important that the dough stays tightly wrapped until you’re ready to use it, as extended exposure to air will cause it to form a skin.
5. Flavoring and coloring the dough
Food52 / Bobbi Lin
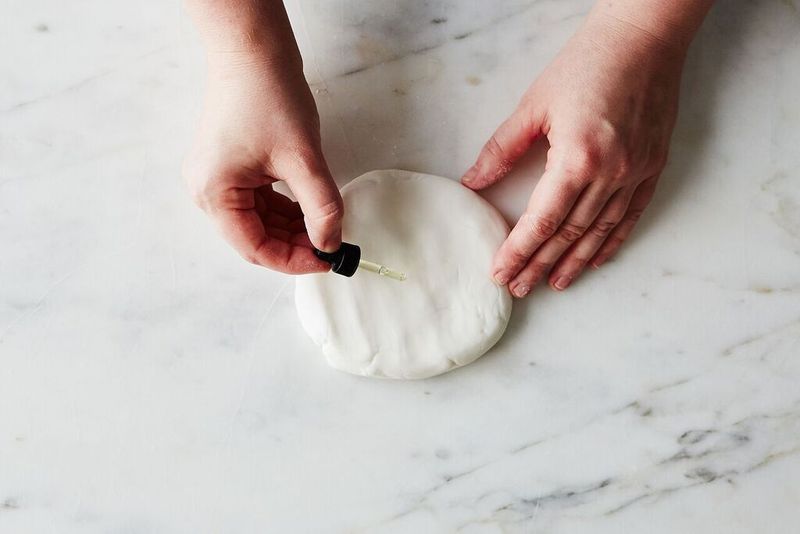
Work with one piece of pastillage at a time when adding flavor and/or color and line your work surface with parchment or wax paper so you don’t risk staining it with color or allowing the flavor to absorb into the surface. If you’re using a bold color, you might want to wear gloves until it is fully mixed in so you don’t stain your hands.
You can use candy flavorings, extracts, and/or essential oils to add flavor to the pastillage. Just remember, it’s best to use as concentrated of flavoring as possible because you don’t want to add too much liquid to the dough. Dot the surface of the dough with the flavoring.
If using color, add it at the same time (you can always add more later, but it’s best to leave the dough unwrapped as minimally as possible, so if you can get it all added just right in one shot, all the better! Liquid food colorings will mix in the best, but if you’re aiming for a very bright, bold color, powered color is better, as it won’t add too much liquid to the dough. (Note: You can also brush powdered color onto the finished candies for a different effect.)
Food52 / Bobbi Lin
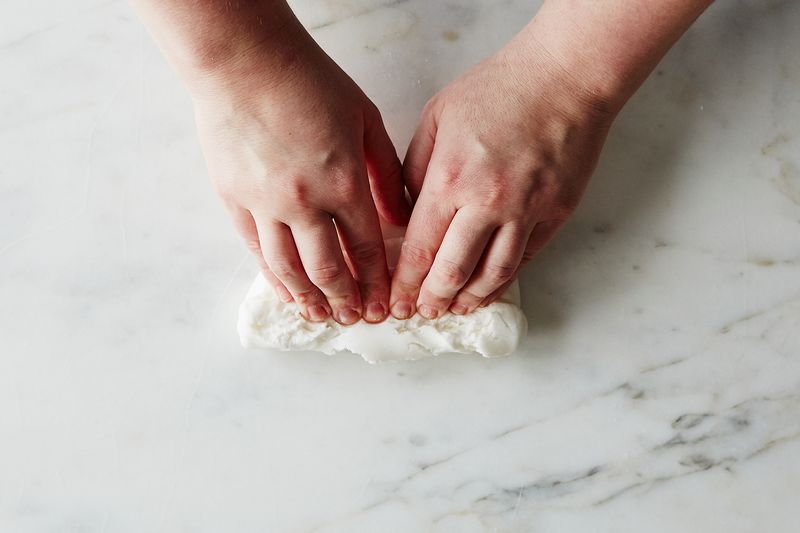
Knead the dough by hand until the both the flavor and color are evenly dispersed. Wrap the dough again immediately after kneading, and keep it wrapped until you’re ready to roll it out.
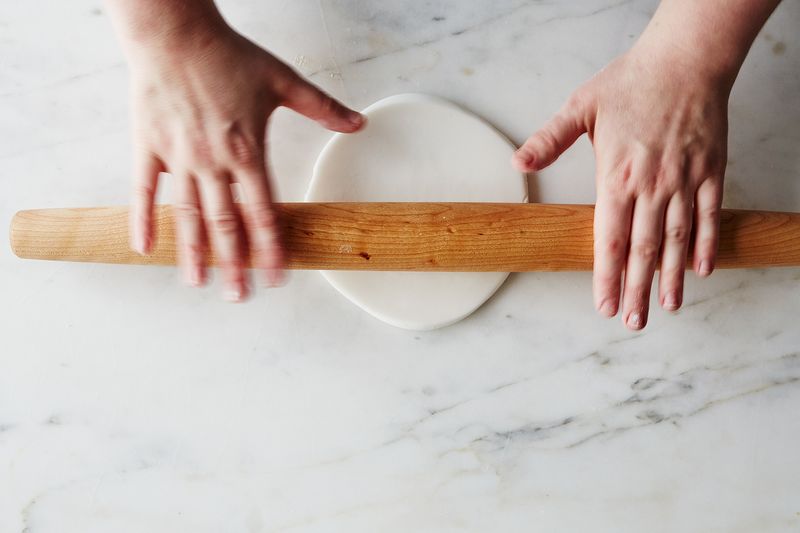
6. Rolling out and cutting the dough
On a clean, dry surface, roll out the dough to 1/4-inch thick. Pastillage rolls out very easily and beautifully, and isn’t prone to sticking. If it’s left too long in one position, however, it will begin to form a skin from being exposed to air. This means it’s important to rotate the dough frequently as you work, which should prevent it from forming a skin and/or sticking to the surface.
If you have difficulty rolling out the pastillage, you can roll it out between two sheets of parchment or wax paper. If you happen to have two Silicone baking mats, that’s even better, as you won’t risk imparting any lines or creases onto the pastillage from the paper. If the dough gives you real trouble, you can dust the surface and the dough with a small amount of confectioners’ sugar.
Food52 / Bobbi Lin
Use a sharp cutter to press directly down into the dough to make the individual pieces. Before proceeding with the next round of candies, transfer the first set of pieces to baking sheets for drying.
Note: The thicker you make your hearts, the longer they will take to dry, and the less brittle their texture will be. Thinner hearts are more snappy in texture, while thicker hearts will have a little more substance.

Food52 / Bobbi Lin
7. Drying
Pastillage is soft when it is fresh, which makes it easy to roll out and shape. As it dries, it becomes firm to the bite. Transfer the finished candies to parchment-lined baking sheets, taking care to ensure they each have space between them so they’ll dry evenly without sticking together.
Let the candies dry, uncovered, for a full two days. In the depth of dry winter, it can take a little less time, but two days is the average to guarantee there’s no moisture left in the candies.
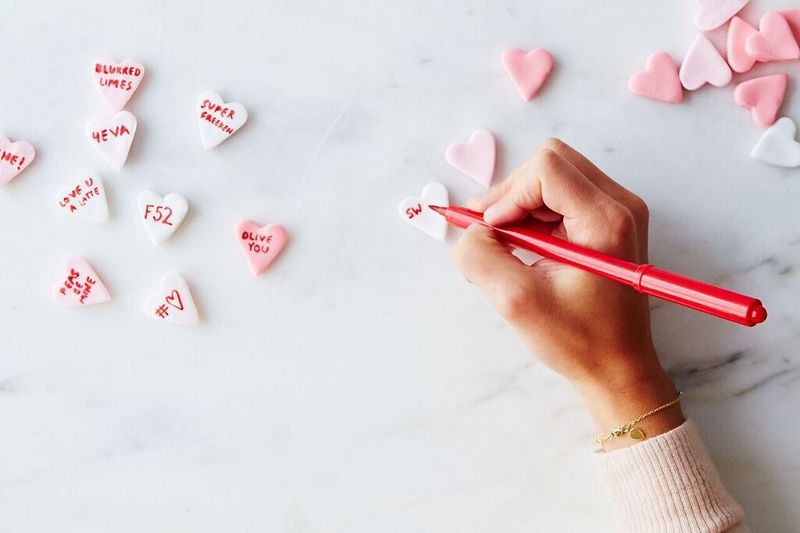
8. Finishing and storage
Now comes the fun part. Once the candies are dried, you can write messages on them like traditional conversation hearts.
Food52 / Bobbi Lin
Use edible ink pens to write your favorite standards (extra points for cool customizations) onto the candies. The ink should dry relatively quickly.
From there, the candies can be stored in airtight containers for up to three weeks.
Food52 / Bobbi Lin