We all have a special, nostalgia-inducing treat from childhood that we still crave as adults. Maybe it’s a Sno Ball, a Twinkie, or an Oreo.
For me, it’s the Keebler Fudge Stripe cookie.
I grew up in a household where we were taught that fruit was the snack of choice and cookies were a rare indulgence. At my aunt’s house, though, there was no such rule. Her snack cabinet always had at least one delicious store-bought cookie in stock, so whenever I was there, I’d get my Keebler Fudge Stripe fix. I had a little ritual for eating them: I would place the first cookie on my index finger, like a ring, and eat my way around the edge, working my way toward the center. The second cookie would be eaten in the same fashion, but the third and fourth cookies were just gobbled up immediately.
It’s been a long time since I’ve had an actual Keebler Fudge Stripe cookie, but only because I’ve found a better alternative — making them myself! It’s not as easy as heading to the snack cabinet and tearing open a package, but mixing up dough, rolling it out, and dipping cookies in melted chocolate is way more fun and leads to much better cookies.
Food52 / Nina Caldas
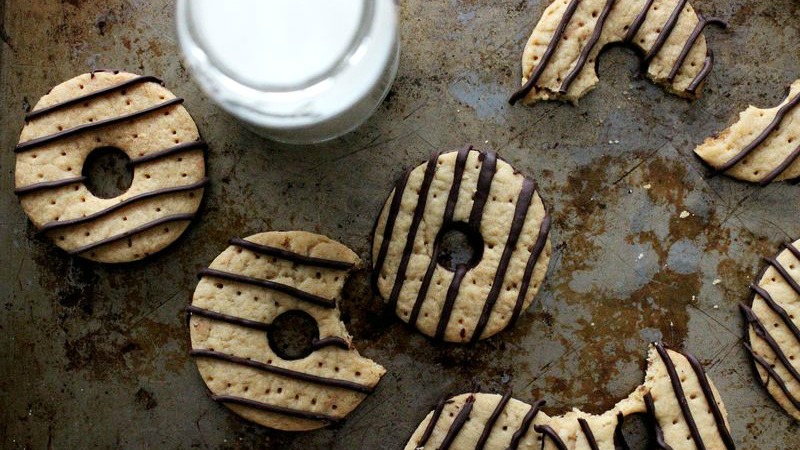
The grown-up version of my childhood favorite is a rich, buttery shortbread cookie dipped in semisweet chocolate. I like to use dark chocolate every chance I get, but I think semisweet chocolate is the way to go here, as that extra bit of sweetness makes these homemade cookies taste a bit more like the store-bought version.
And if you’re a perfectionist, here’s a useful tip: Don’t worry if your stripes aren’t perfectly straight and spaced apart! That’s something only Keebler elves have the magic to do. Pipe them on, let the chocolate set, then sit back and enjoy one, two, or five cookies in a row (wearing them like a ring not required).
Makes 30 cookies
180 grams unsalted butter, at room temperature
90 grams granulated sugar
1/2 teaspoon kosher salt
2 teaspoons vanilla extract
270 grams (1 3/4 cups plus 3 tablespoons) all-purpose flour
340 grams (12 ounces) semisweet chocolate, chopped
In the bowl of an electric mixer fitted with the paddle attachment, beat the butter on medium-low speed until it’s smooth. Add the sugar and salt, and cream together until the mixture is light and fluffy, about 2 minutes. Scrape down the bowl and beat in the vanilla extract.
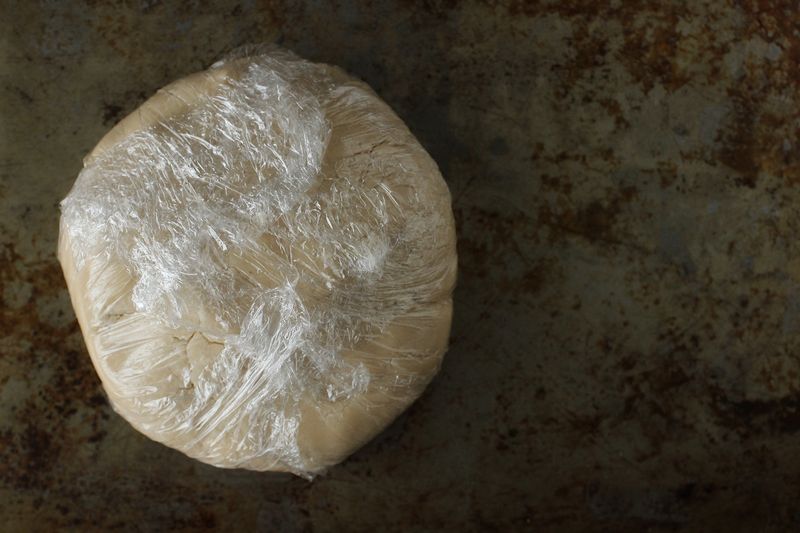
Add the flour in two additions, mixing until just combined and scraping down the sides of the bowl with a rubber spatula after each addition. Transfer the dough to a work surface and shape into a disk. Wrap tightly in plastic and refrigerate until cold, at least 2 hours.
Food52 / Nina Caldas
Preheat the oven to 325 degrees F and position the racks in the upper and lower thirds of the oven. Line sheet pans with silicone liners or parchment paper.
When the dough has chilled, remove it from the fridge and let it sit on your counter for about 10 minutes, just so that it becomes a little easier to work with. Place the dough between two pieces of wax paper and begin to pound out and roll the dough (the paper will help prevent the dough from cracking too much). Continue to roll out the dough until it’s 1/4-inch thick.
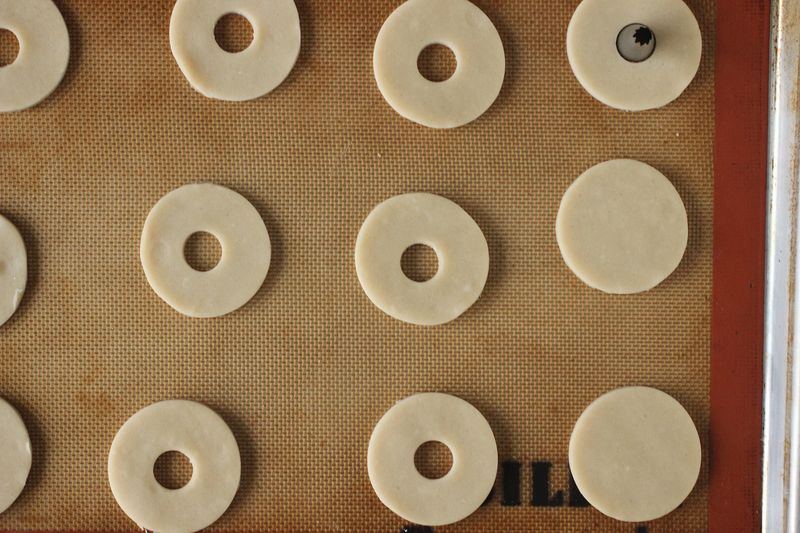
Using a 2 1/2-inch round cookie cutter, cut out as many circles as you can, gathering and rerolling the scraps to make more cookies. Transfer the rounds to the prepared sheet pans.
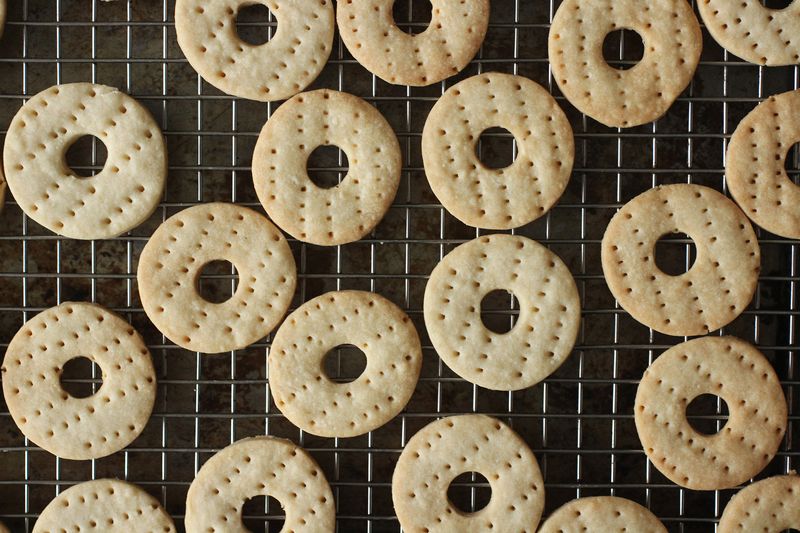
Using the larger end of a pastry tip, cut out a circle from the center of the cookie rounds (I like to do this when the cookies are already on the sheet pans to ensure that they stay perfectly round). Prick the cookies all over with the tines of a fork.
Bake the cookies for 17 to 19 minutes, until they’re a pale golden brown. Let the cookies cool on the sheet pans for a few minutes before transferring them to a wire rack to cool completely.
Food52 / Nina Caldas
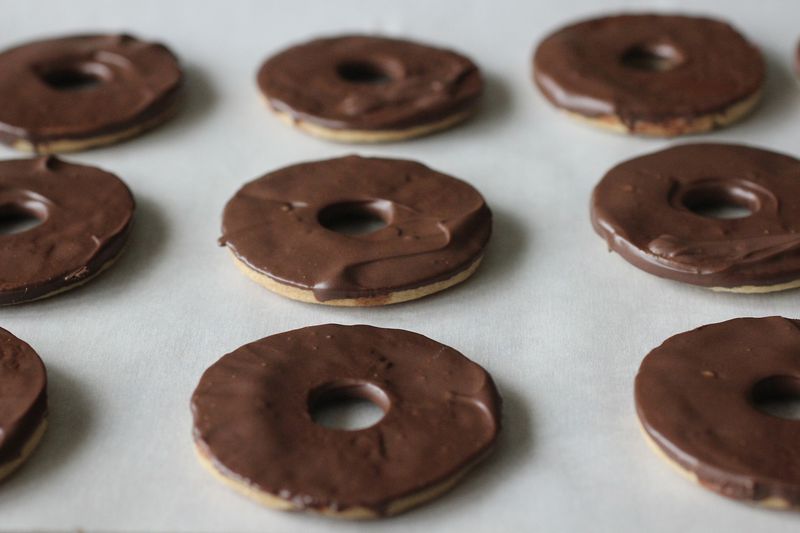
Once the cookies are completely cool, melt the chocolate in a double boiler or in the microwave. Dip the bottom of each cookie into the chocolate to coat, scrape the excess off on the side of the bowl, and place on a parchment-paper lined sheet pan, chocolate side up. Repeat with each cookie, and then place them in the fridge to firm up the chocolate (five to 10 minutes).
Food52 / Nina Caldas
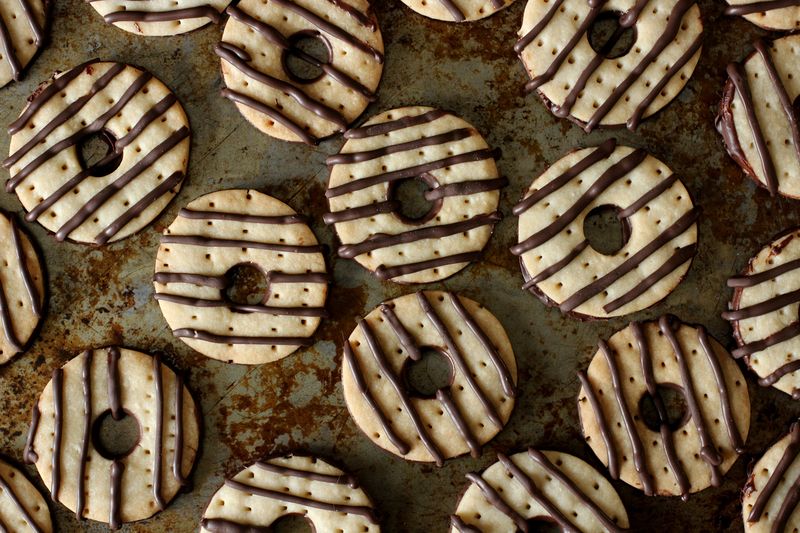
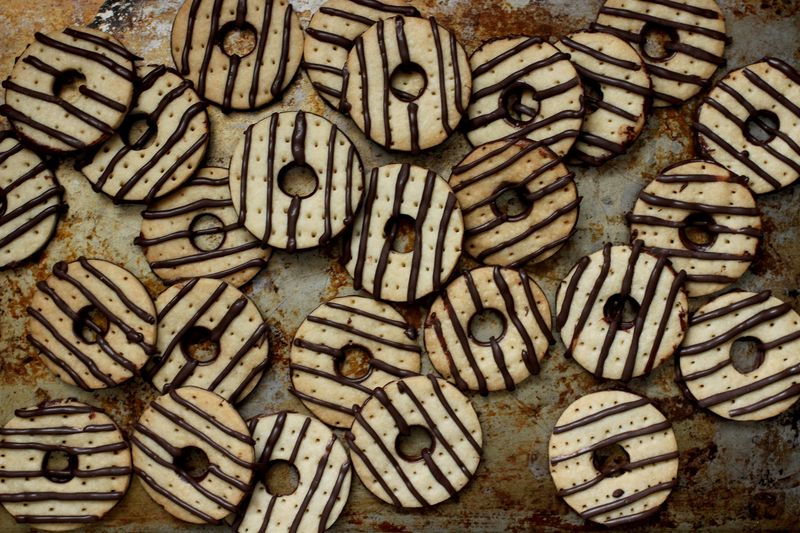
In the meantime, transfer the remaining melted chocolate to a plastic bag. Once the chocolate has set, remove the cookies from the fridge and flip them over. Snip a tiny piece off the corner of the Ziploc bag and carefully begin to pipe on the stripes. The quickest way to do this is to line the cookies up, spacing them close together, and just draw a continuous line across the entire row of cookies. Five to six stripes per cookie should do the trick! Allow the chocolate stripes to set in the fridge.
Food52 / Nina Caldas
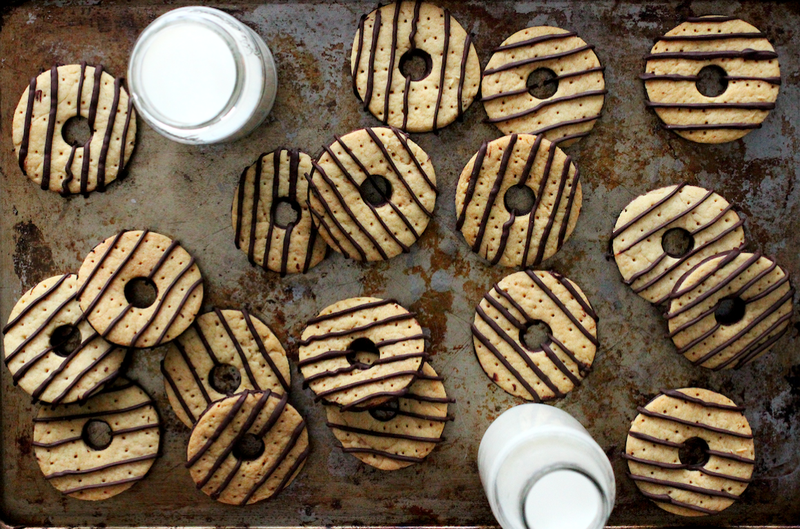
If you’re using untempered chocolate, the cookies must be stored in the refrigerator. Otherwise, you can store the cookies at room temperature, in an airtight container, for three to four days.