This post originally appeared in Kitchen Hacks on Food52.
I have very little self-control at a good farmers market.
You know that scene in, like, every episode of MasterChef where the contestants sprint into a comically oversized cold pantry, stuffed to the gills with 80 square feet of eggplants, more tomato varieties than you knew existed, and a crate of limes heftier than a 6-year-old? The one that looks like this?
I produce-shop like I’m trying to stock that pantry. Safe to say, it’s a race against time to use up all of my vegetables and fruit.
That’s why it was such a game-changer for me when I stumbled upon a technique from Mads Refslund and Tama Matsuoka Wong to turn limp, fridge-shriveled carrots into DIY raisins, in their cookbook Scraps, Wilt & Weeds: Turning Wasted Food Into Plenty.
The basic idea is as follows: Chop up as many “last-legs” carrots as you have on hand, send them into a quick blanch to soften and add sweetness, and then use your oven at a very low temperature (or a dehydrator if you’re fancy!) to draw out moisture over a several-hour period.
Good news for me (and for my ever-wilting hoarder’s nest of seasonal produce): It doesn’t just work with carrots. You can use variations on this method to make “raisins” out of any hard-fleshed fruit or vegetable, and with a riffable flavor infusion during the blanch step, the resulting permutations are endless.
The important stuff
Repeat after me: There’s no wrong way to raisin. Just make sure to hit on a few key steps — chop to size, blanch thoughtfully, and bake ’til you’re happy with the texture:
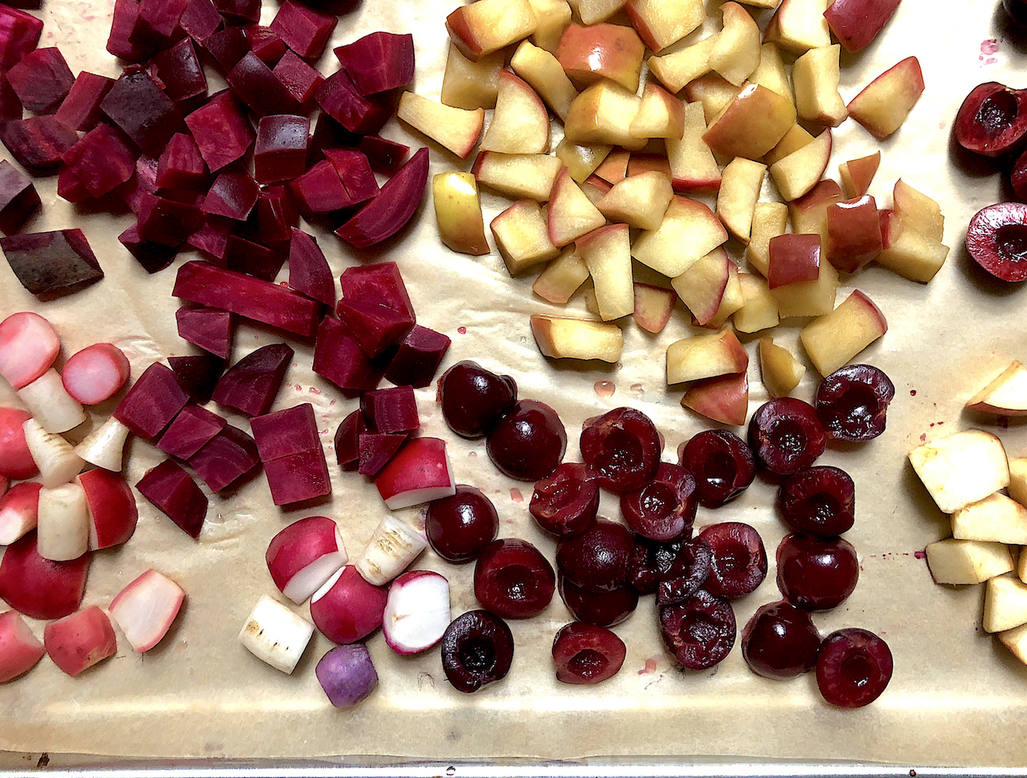
Chop: The first thing you’ll want to do is cut up your wilting veggies or fruit into little bite-size pieces, which will become the raisins. The two important considerations here are size and uniformity. I’ve found that the ideal piece-size for this technique, in terms of expediting oven time and still retaining a chewy center, is roughly 1/2-inch by 1/2-inch.
If you’re using something like cherries, no need to fuss over shape — just halve them and remove the pits. Most importantly, you’ll want to get your pieces of fruit or vegetable to be relatively consistent in size so they’ll dehydrate at the same rate.
Blanch: Next, before you stick them in the oven, give your produce pieces a quick dip in a pot of boiling liquid. Mads and Tama recommend a blanching liquid that’s equal parts sugar and water (1 1/2 cups each). My go-to mixture incorporates apple cider vinegar and maple syrup, with a ratio of 3 cups water to 1 1/2 cups apple cider vinegar to 1 cup maple syrup. This is a great spot to get creative with different vinegars, spices, and sweeteners.
Blanch until you can just pierce a fork through your fruit or vegetable pieces, between 4 and 10 minutes depending on what you’re using and how wilted it was to begin with. The goal of this step is primarily to soften the centers, which makes the dehydrating process quicker and gives the resulting raisins a better texture. It also helps to preserve color.
Bake: Remove your pieces from the blanching liquid with a slotted spoon, and place them onto a parchment paper-lined baking tray. Spread them out so they’re not touching one another. Stick the tray into the oven at 175 degrees F, and start checking on your raisins for doneness around the 6-hour mark.
Depending on what you’re using and your desired level of chewiness, the process could take anywhere from 6 to 10 hours. In their carrot raisins recipe, Mads and Tama recommend dehydrating the pieces until there’s no moisture left at all (which facilitates a super long shelf-life), and rehydrating them in reserved blanching liquid as needed. But I prefer to take mine out when the centers are still chewy and plump, like raisins you’d buy at the store. (They should last about three weeks this way.)
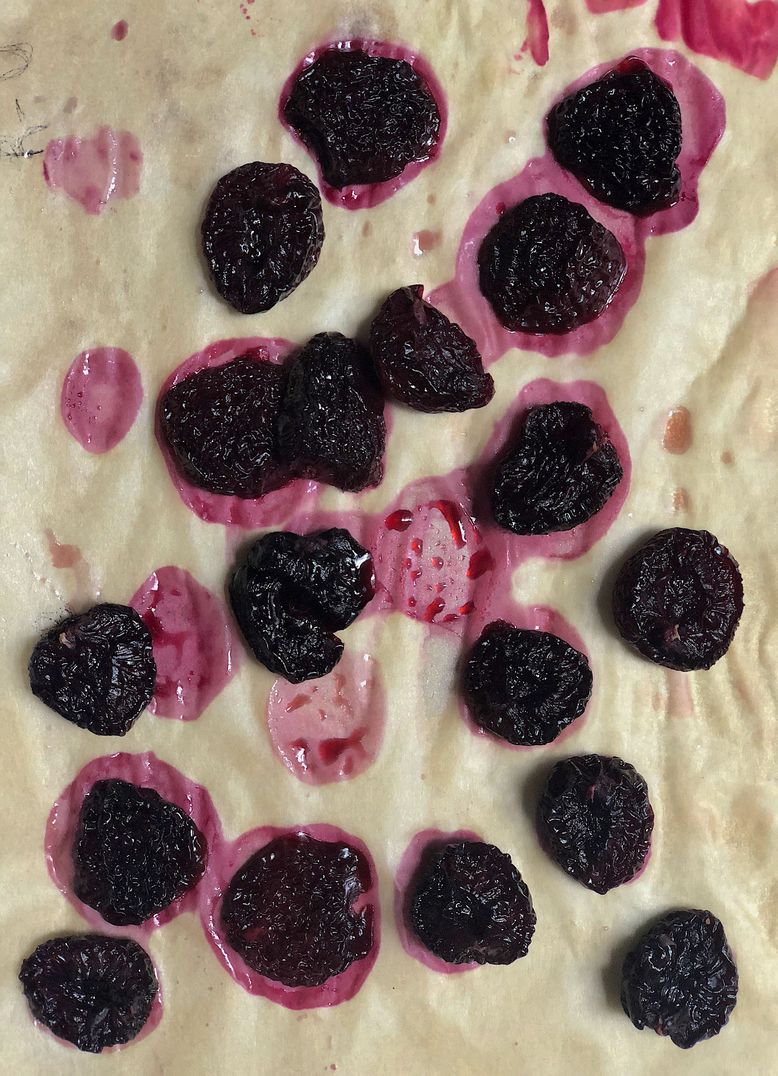
Remember these cherries? If you look hard enough, you can see where I ate one …
All the ways to raisin
Once you’ve got the basic steps down, the possibilities are infinite. The most promising options I’ve come across include:
- On the fruit side: Pears, plums, apricots, cherries, apples, rhubarb, figs (sans skin), and of course, grapes.
- On the veggie side: Carrots, beets, yams, radishes, and most other root vegetables.
So you’ve got a million raisins. Now what?
“One of the first times I was really intrigued by these raisins was when I ate at ACME, where Mads cooked,” Tama says. “He used them on a whole bunch of things.”
Tama recalls in particular a dessert Mads used to serve, which was beet raisins sprinkled over a cloud of yogurt and rye crumbles, with pickled cherries. (I had to pause to take a few deep breaths after I heard that — and had dreams about it for days.)
Less intimidating but equally delicious ways to use your new raisins include:
- Incorporating them into salads and grain bowls.
- Using them to top your yogurt and chia seed pudding.
- Mixing them into ice cream.