Editor’s note: With all of the nasties that can go into conventional pet food, we’re fans of taking the DIY route.
The first time I cooked for my dog was, not surprisingly, when he got sick. As a puppy, Brimley had an iron stomach. Seriously, this little guy could eat anything (and did) without getting sick.
So when he had some stomach troubles at the tender age of one and a half, I rushed to the vet in a total panic. He was given medicine and the vet said that kibble might be hard on his tummy for a few days. That night, I cooked rice in some homemade chicken broth, and added a few pieces of shredded dark meat and some carrots. He ate it voraciously — then sat looking at his bowl, then back at me, hoping I’d get the hint and refill it.
I started cooking for him once or twice a week, incorporating foods that I might be eating (grains, vegetables, lean meats) into meals for him. Learning the basics of cooking for my pet allowed me flexibility and freedom — now, as an experienced dog mom, I don’t panic if he shows signs of stomach troubles. And I’ve never had last-minute, late-night runs to the pet store because I’m almost out of dog food.
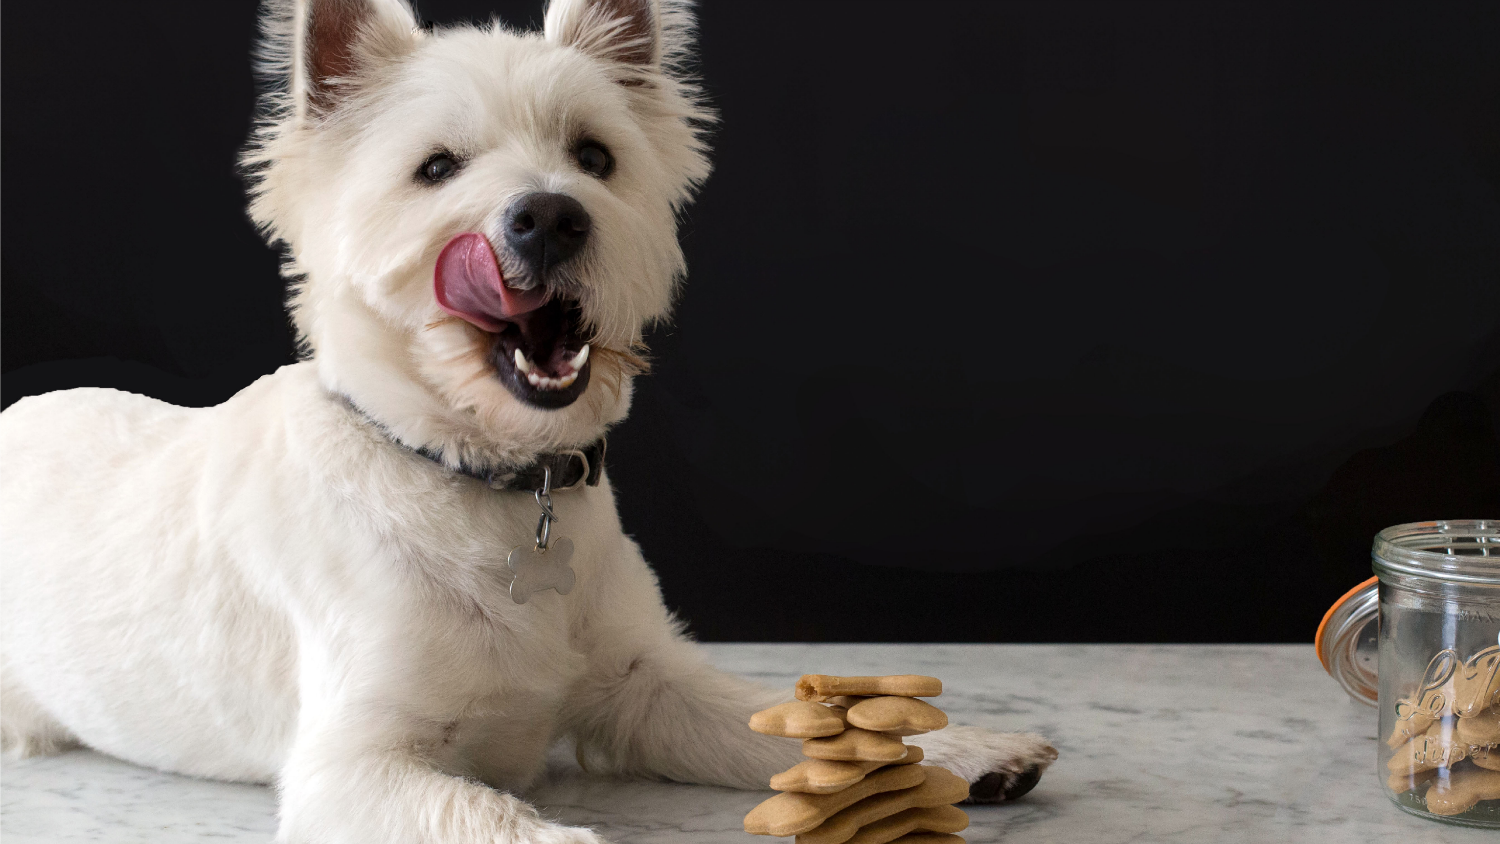
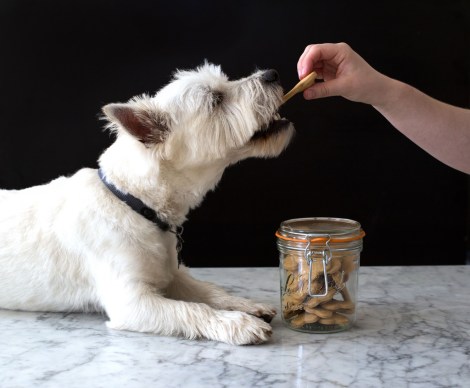
But while I love cooking for him, I’ve been unable to maintain it more than a few times a week. Making my own treats for him has been the perfect compromise — they are easy, quick, and can be made in batches so he can enjoy them for a couple weeks. It’s a money-saver, but the main draw for me is controlling what goes into the treats and how big they are. I make bite-sized treats, which are good for training, and larger treats to keep him occupied while I slip out the door on my way to work.
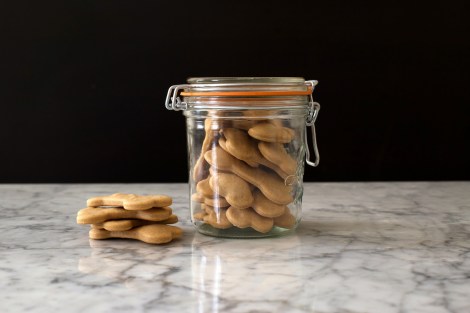
Since doggie nutrition can be a tricky subject, I turned to a friend who runs a dog biscuit-baking business, who gave me a recipe. These basic peanut butter treats are as easy as can be, and my dog loves them. They keep well — up to two weeks in an airtight container. I’ve tried other variations using broth in place of the water or even incorporating bacon (for a very special treat), but these plain versions are my go-to. Just be careful, they smell pretty similarly to human cookies while they are baking — don’t let anyone in your household get the wrong idea (though they’re safe to eat, they don’t have our requisite butter, sugar, or eggs to make them palatable).
For more info on making your own dog treats and food, check out the blog See Spot Bake, which has dozens of recipes for all kinds of dog-friendly foods.
Peanut Butter Dog Biscuits
Makes about three dozen large biscuits
1/2 cup natural, unsalted peanut butter
1 cup water
2 tablespoons vegetable oil (or use the oil that has separated from the natural peanut butter inside the jar)
1 1/2 cups whole wheat flour
1 1/2 cups all-purpose flour
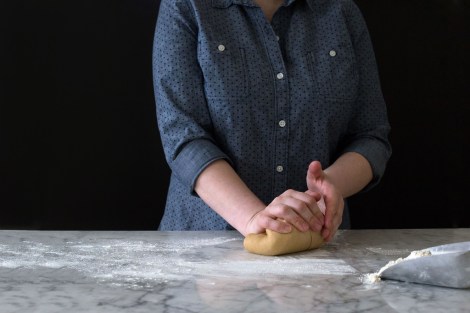
Preheat the oven to 350 degrees F. Line two baking sheets with parchment paper. In the bowl of an electric mixer fitted with the paddle attachment, combine the peanut butter, water, and oil. Add the flours gradually, mixing until the mixture comes together to form a smooth dough, 2 to 3 minutes. (This can also be done by hand, though the kneading will take longer — 6 to 8 minutes.)
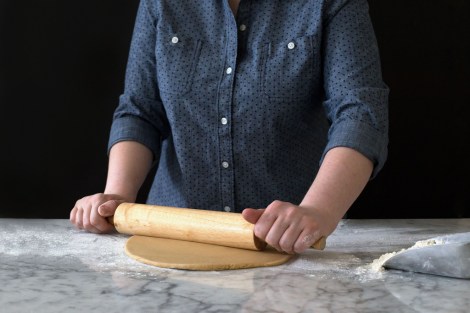
Roll out the dough on a lightly floured surface to about 1/4-inch thick.
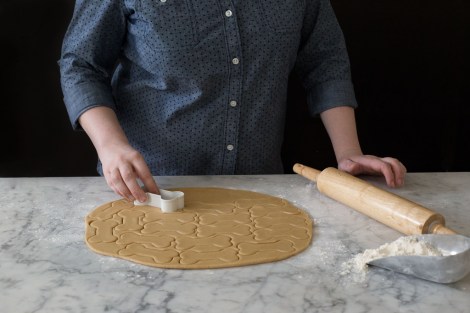
Cut out biscuits using a floured cookie cutter, and transfer to the prepared baking sheets. Leave at least 1/4 inch between each biscuit to ensure even baking (the biscuits don’t spread much).
Bake until golden brown on the bottom and edges, about 12 to 18 minutes (depending on the size of the cookie cutter). Cool completely before serving to your pooch.
See the full recipe (and save and print it) here.

