There are certainly some legitimate excuses for not hitting the streets on two wheels, but for many of us, our hesitation is a lot simpler: We’ve got a flat tire, and we’re too lazy, or too busy to fix it. Or maybe we just don’t know how.
A few years back, I was in those lazy shoes (size 9.5, to be exact). But when I took my borrowed bike to a repair shop for a tune-up, the crew there told me it would be two days before they could get to it. Thanks to their ample coaching, words of encouragement, and stockpile of tools, however, I managed to do it with my own two hands — and damn it if it didn’t feel empowering.
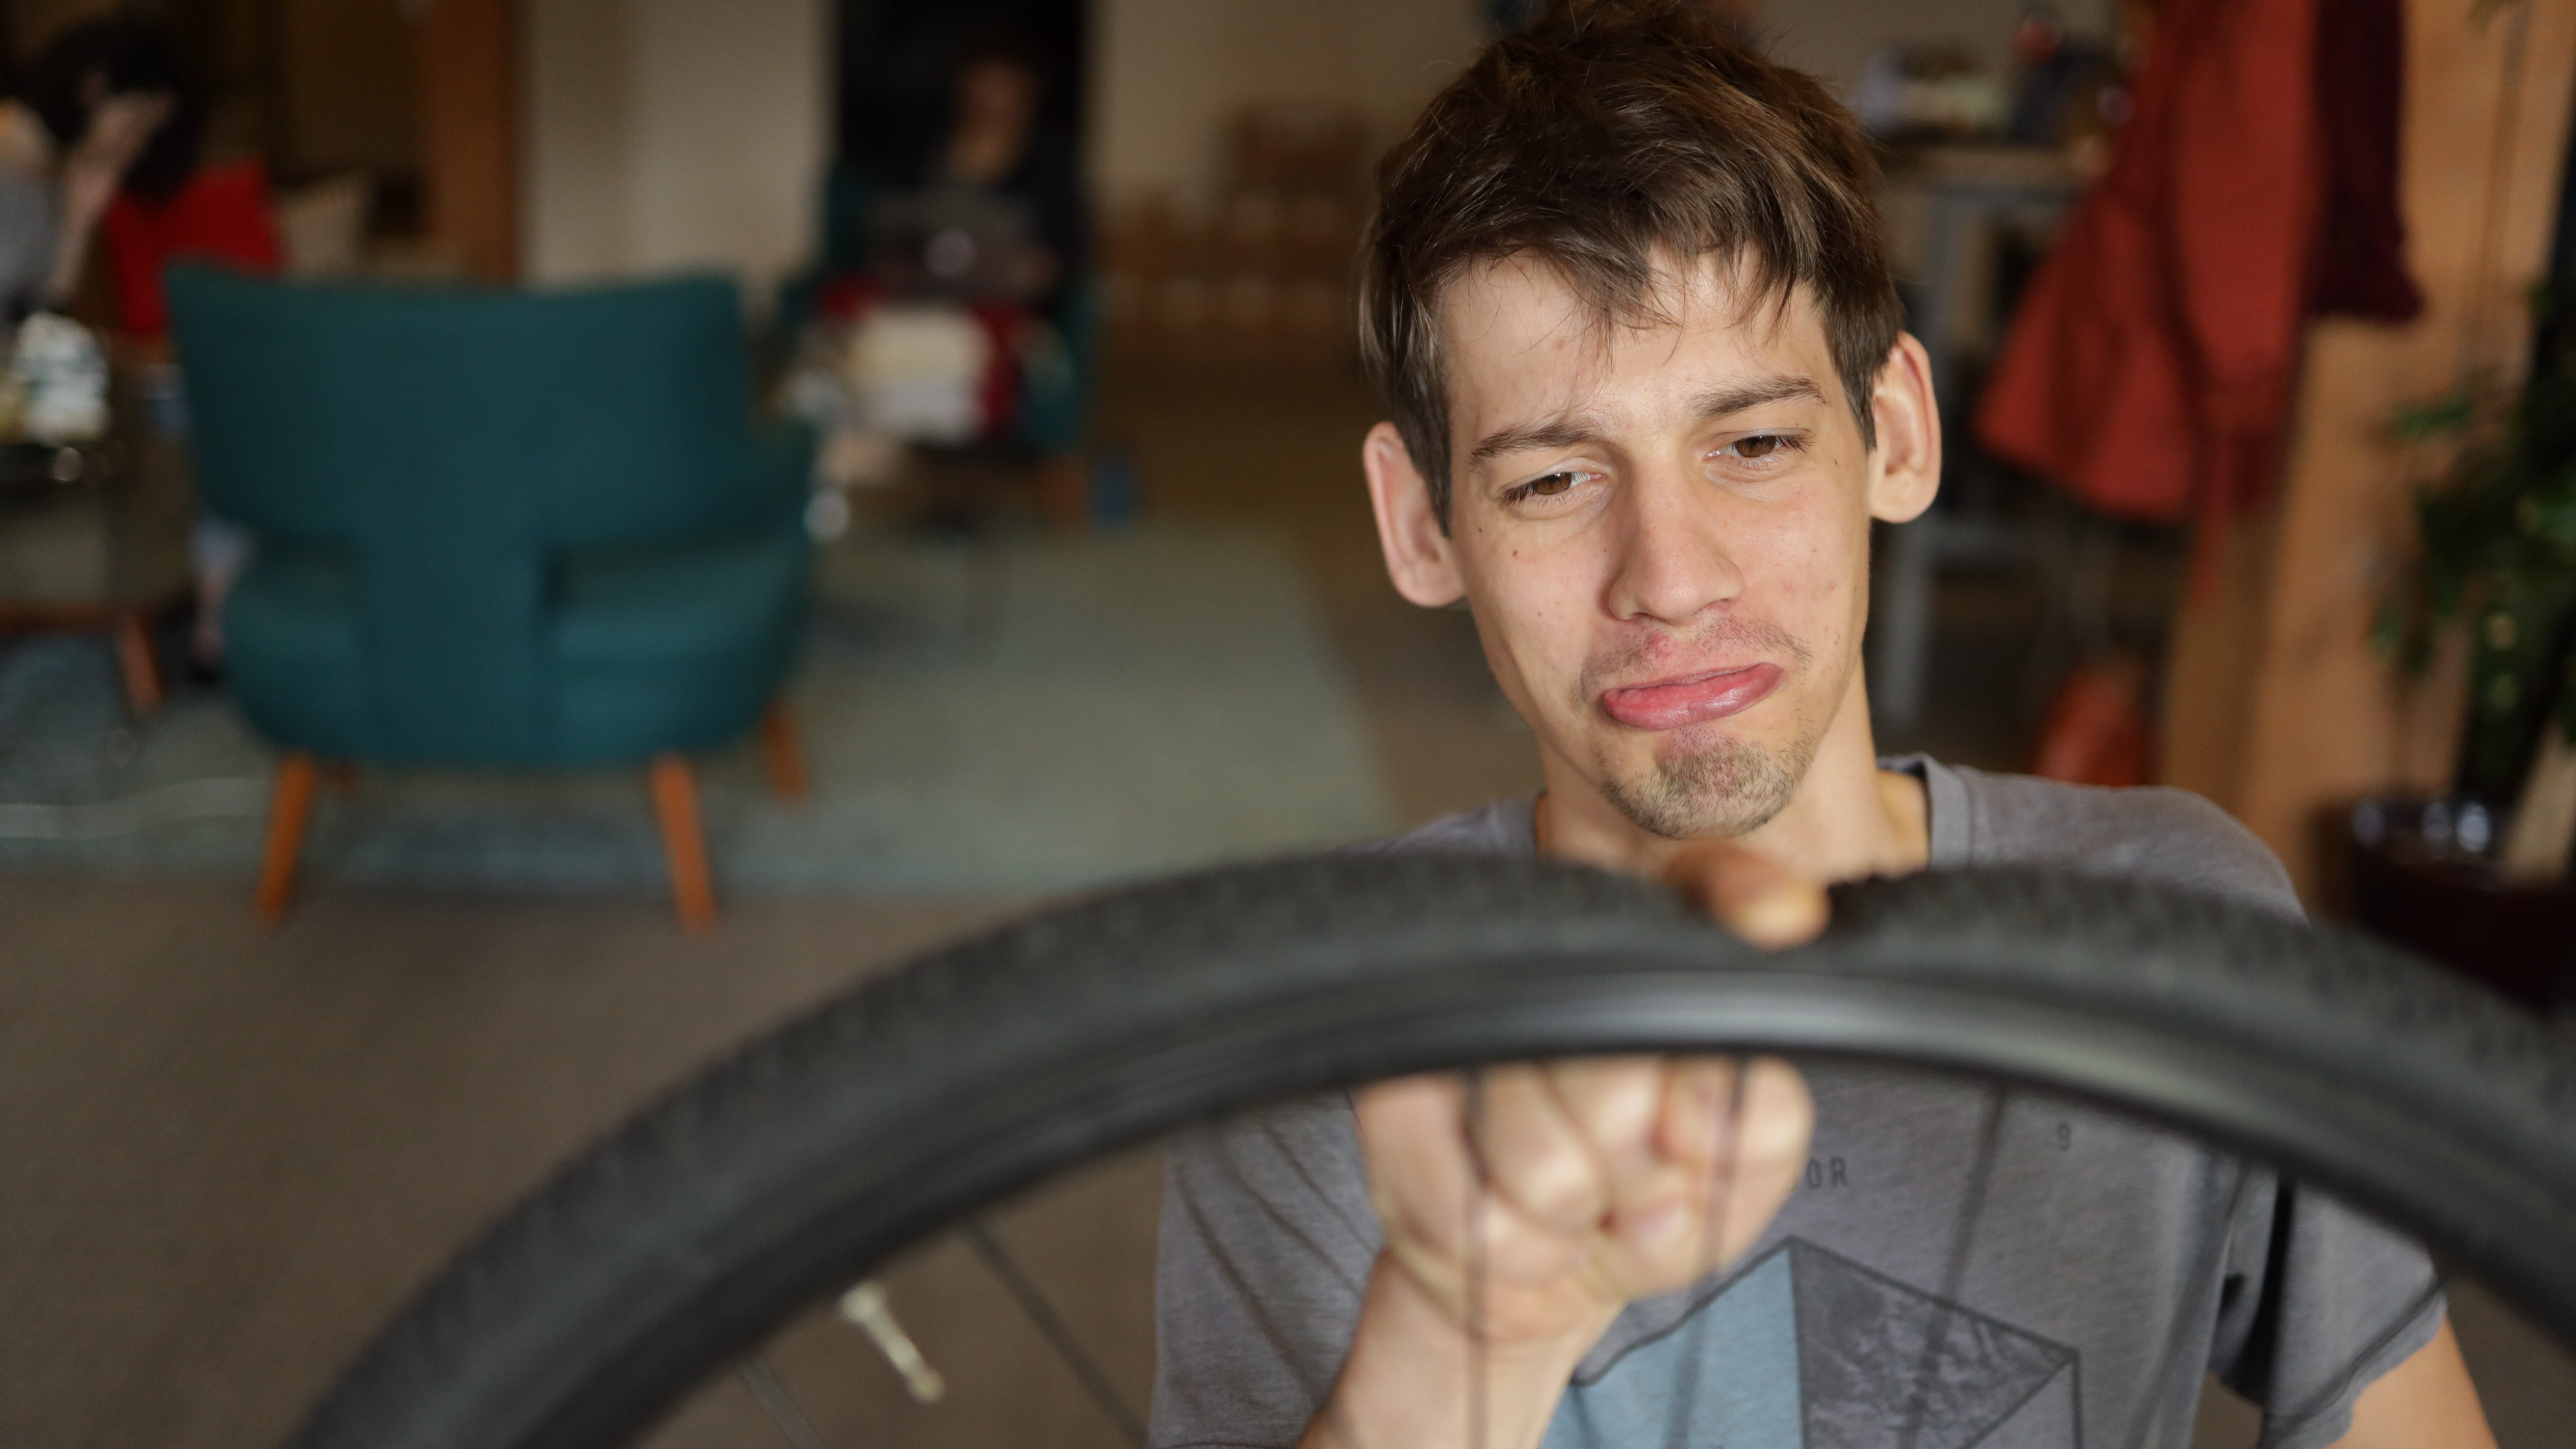
Here are 10 easy steps to get you back out there, with photos of (and pro tips from!) Grist staffer and resident bike nerd Peter Berzins. Like what you see? Sign up for our Shift Happens newsletter and get an every-other-week email from me about folks who are fixing the planet, with DIY fun like this mixed in.
1. Check to see if you actually have a leak!
Even perfectly good bike tires lose pressure over time. Try pumping up your flat — it might just hold air.
Jesse Nichols / Grist
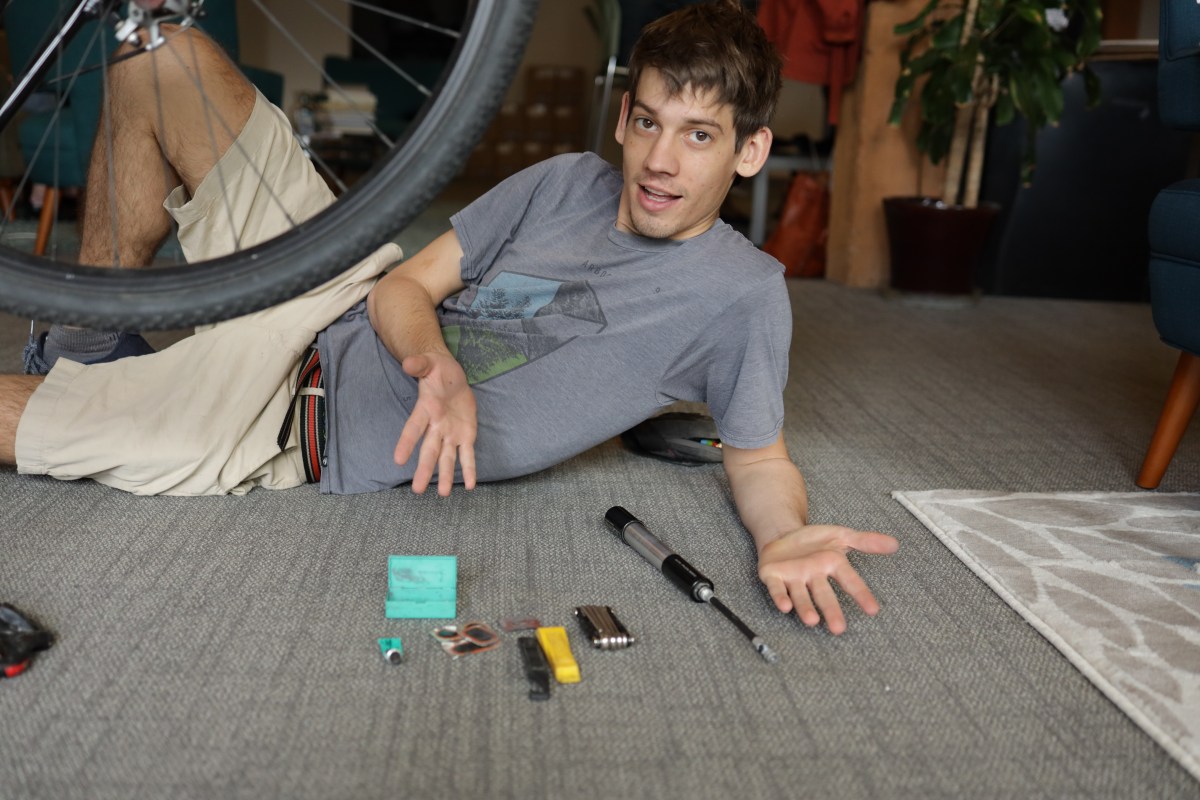
2. Got a leak? You’re gonna need some more tools.
Head to the garage or the nearest tool library and get an adjustable wrench or multitool, a patch kit, and some tire levers.
![]() PETER’S PRO TIP: Bring these with you in a tool kit when you ride, and add some emergency provisions — my go-to combo, you ask? Blueberry KIND bars*, gummy bears, and a spare $20.
PETER’S PRO TIP: Bring these with you in a tool kit when you ride, and add some emergency provisions — my go-to combo, you ask? Blueberry KIND bars*, gummy bears, and a spare $20.
Jesse Nichols / Grist
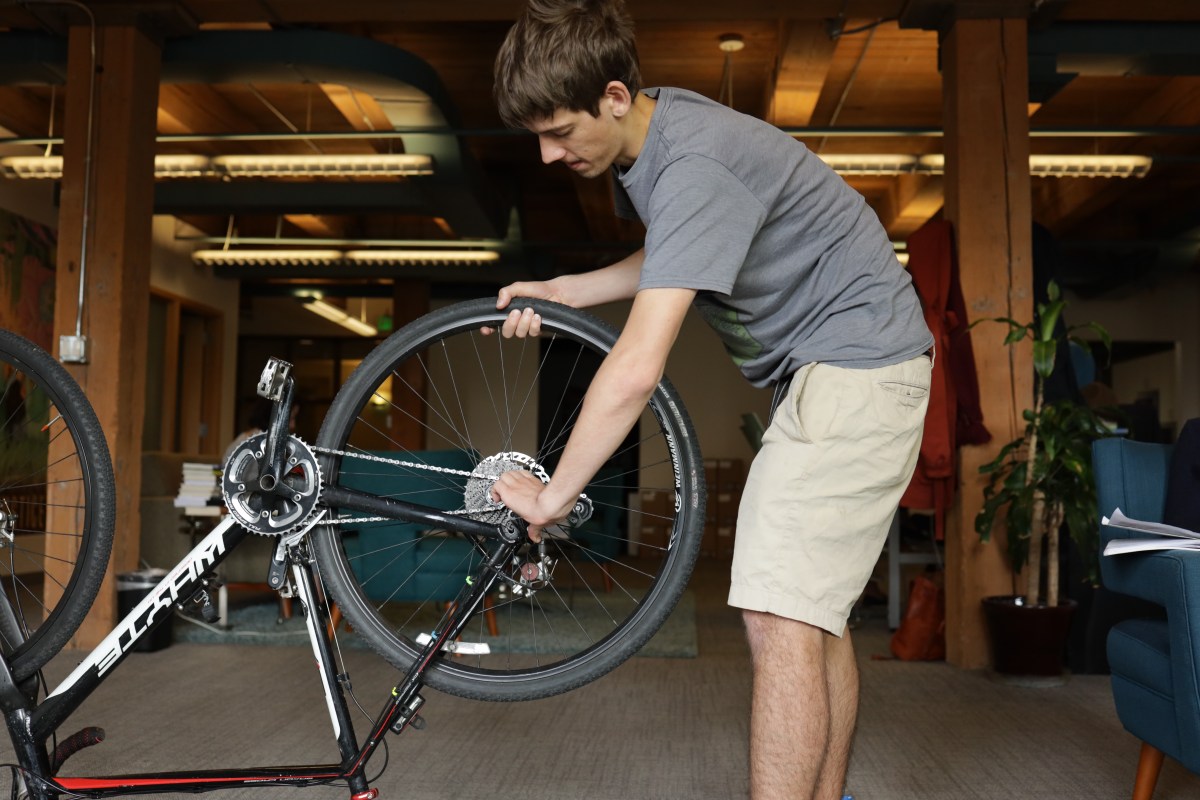
3. Take the wheel off the bike.
You’ll probably need to unhook your brake cable first — and you may need that wrench.
![]() PETER’S PRO TIP: If the rear tire is flat, put the chain on the smallest ring before taking the wheel off. Otherwise, you’ll be in a world of hurt. Not that I would know!
PETER’S PRO TIP: If the rear tire is flat, put the chain on the smallest ring before taking the wheel off. Otherwise, you’ll be in a world of hurt. Not that I would know!
Jesse Nichols / Grist
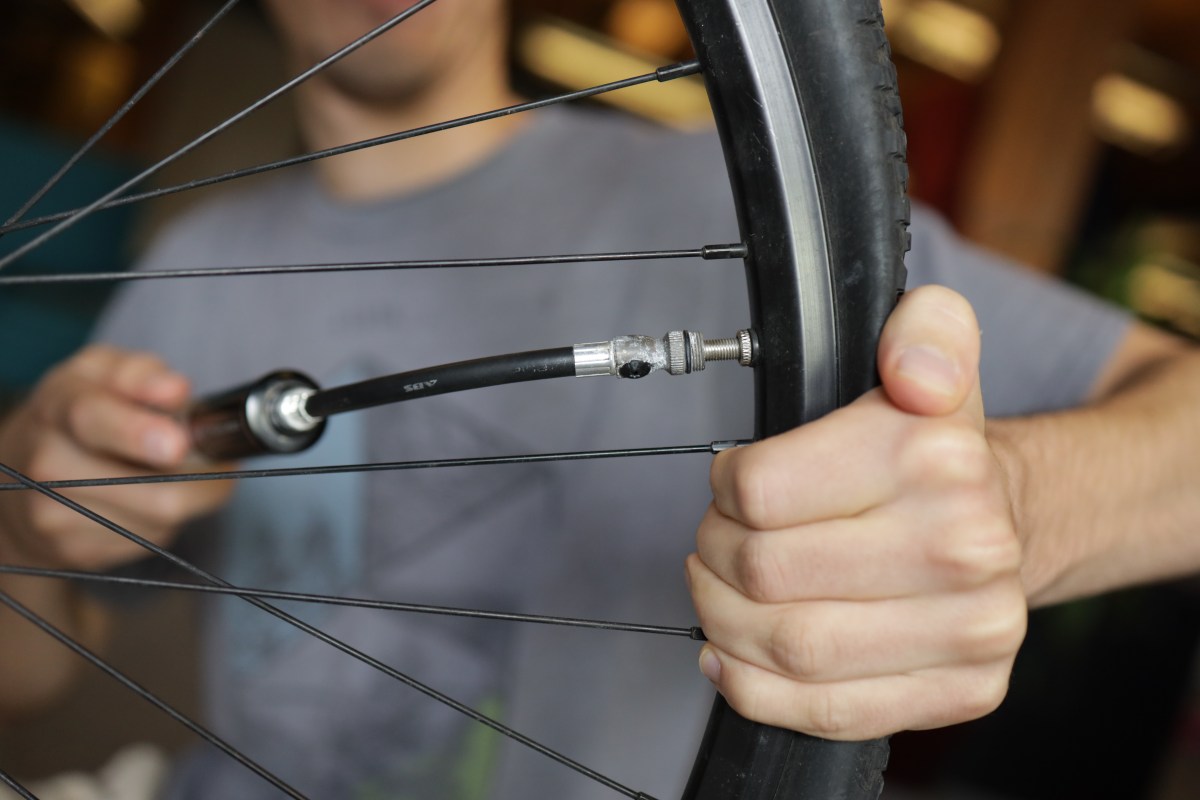
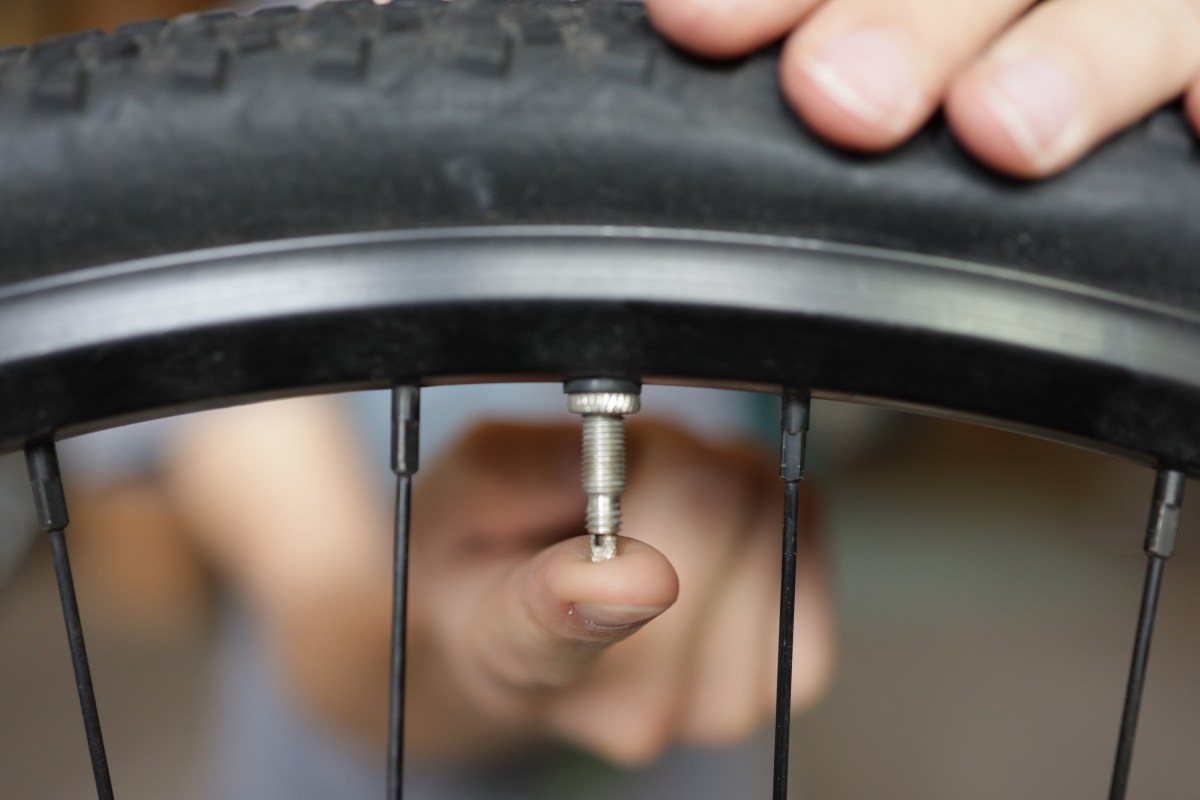
4. Let any remaining pressure out of the tire.
Just press the pin at the tip of the valve. You may need to remove a cap, or unscrew the valve tip, first.
Jesse Nichols / Grist
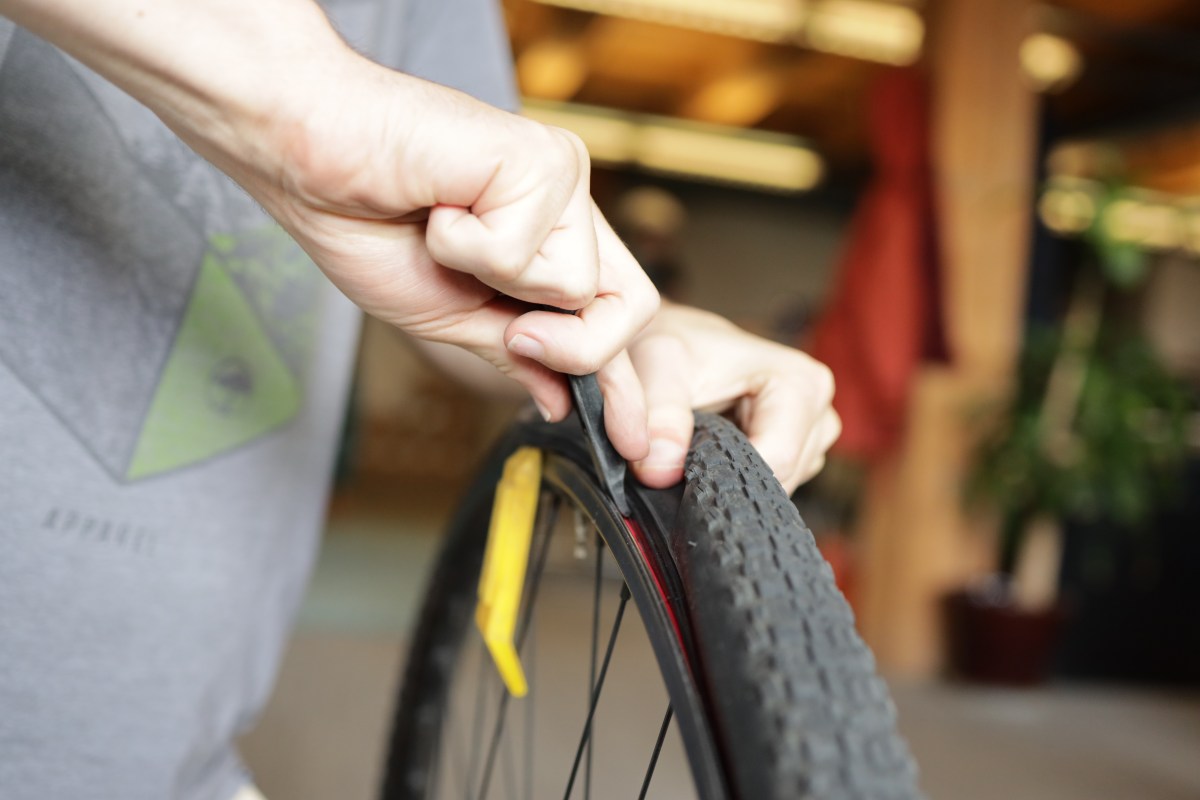
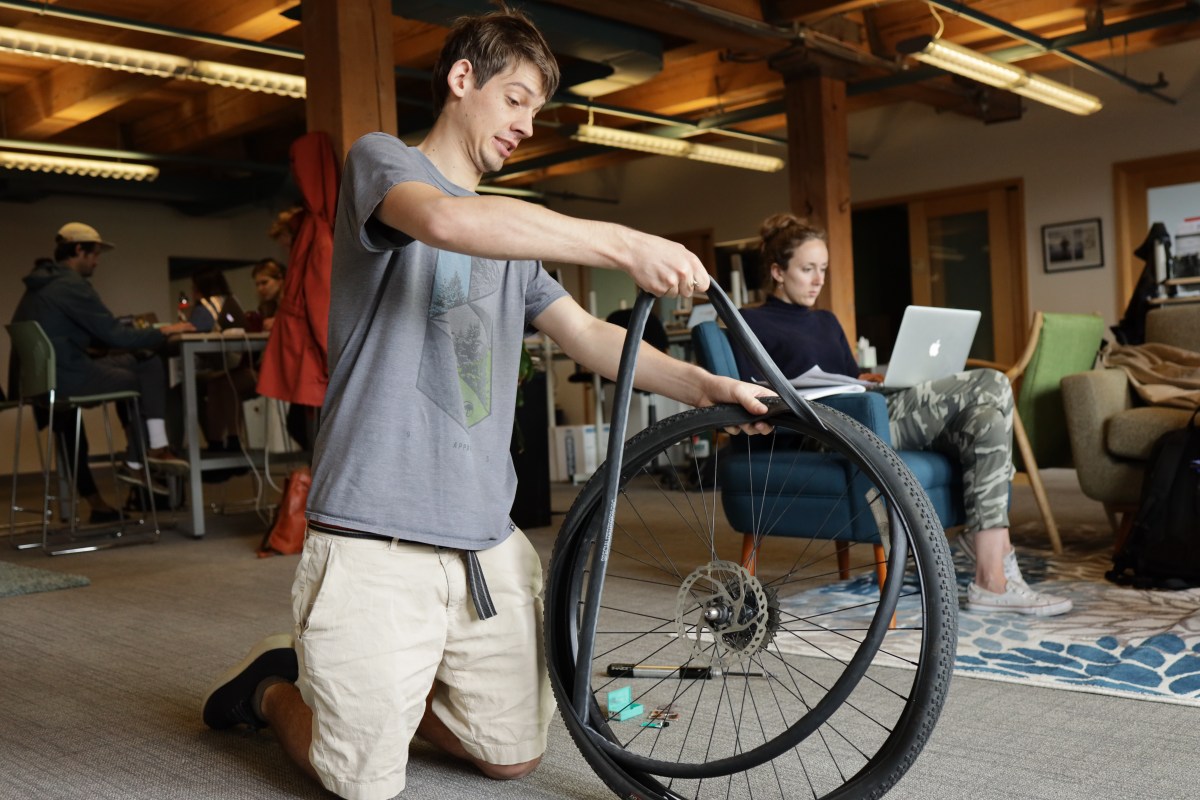
5. Remove the tire from the rim.
This is where those tire levers come in handy.
Jesse Nichols / Grist
6. Remove the inner tube from inside the tire.
The tube is what’s leaking, but check to be sure the sharp thing that popped the tube isn’t still lodged in the tire.
Jesse Nichols / Grist
7. Locate the leak.
Pump the tube full of air. If you don’t hear air hissing out, stick the tube in a sink full of water and look for the bubbles!

Jesse Nichols / Grist
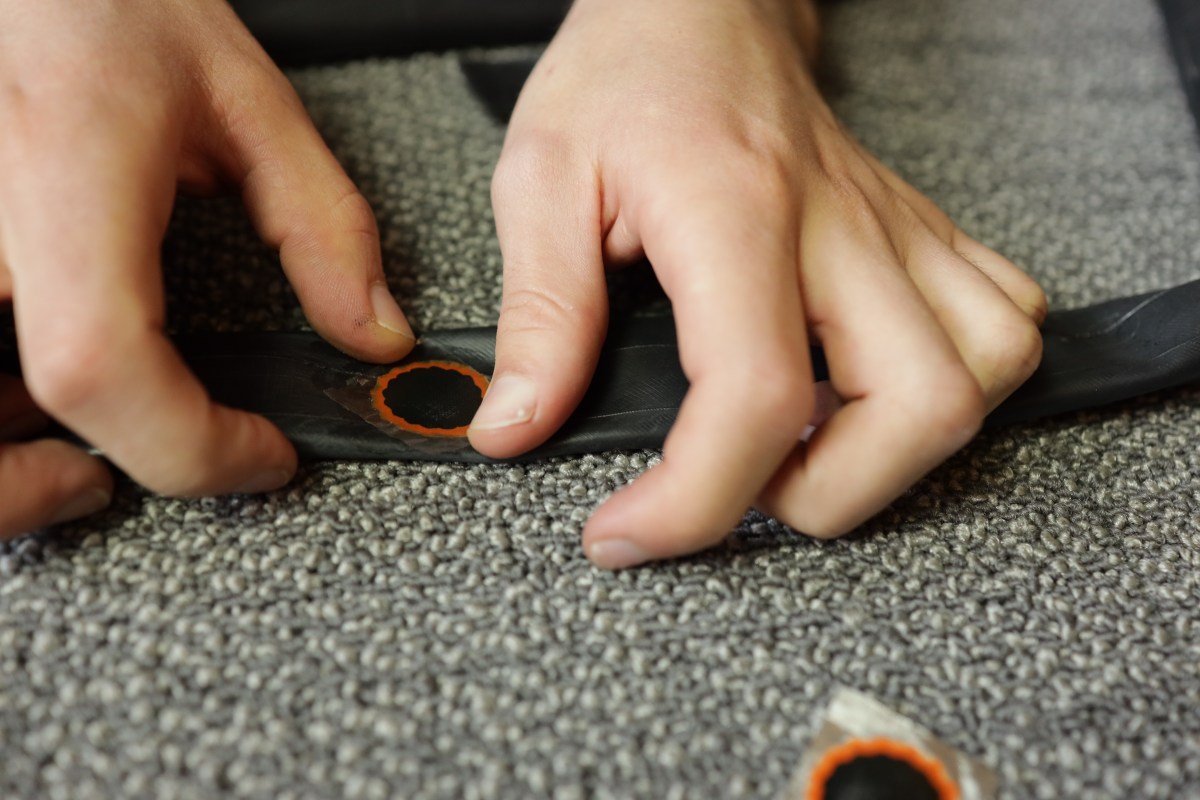
8. Patch that sucker!
There are a couple of different types of patches — just follow the directions in the kit.
![]() PETER’S PRO TIP: If your patches are the ones that require glue, you have to let the glue dry before you put the patch on. It’s strange, I know. But it’s the perfect time to eat that KIND bar you packed!
PETER’S PRO TIP: If your patches are the ones that require glue, you have to let the glue dry before you put the patch on. It’s strange, I know. But it’s the perfect time to eat that KIND bar you packed!
Jesse Nichols / Grist
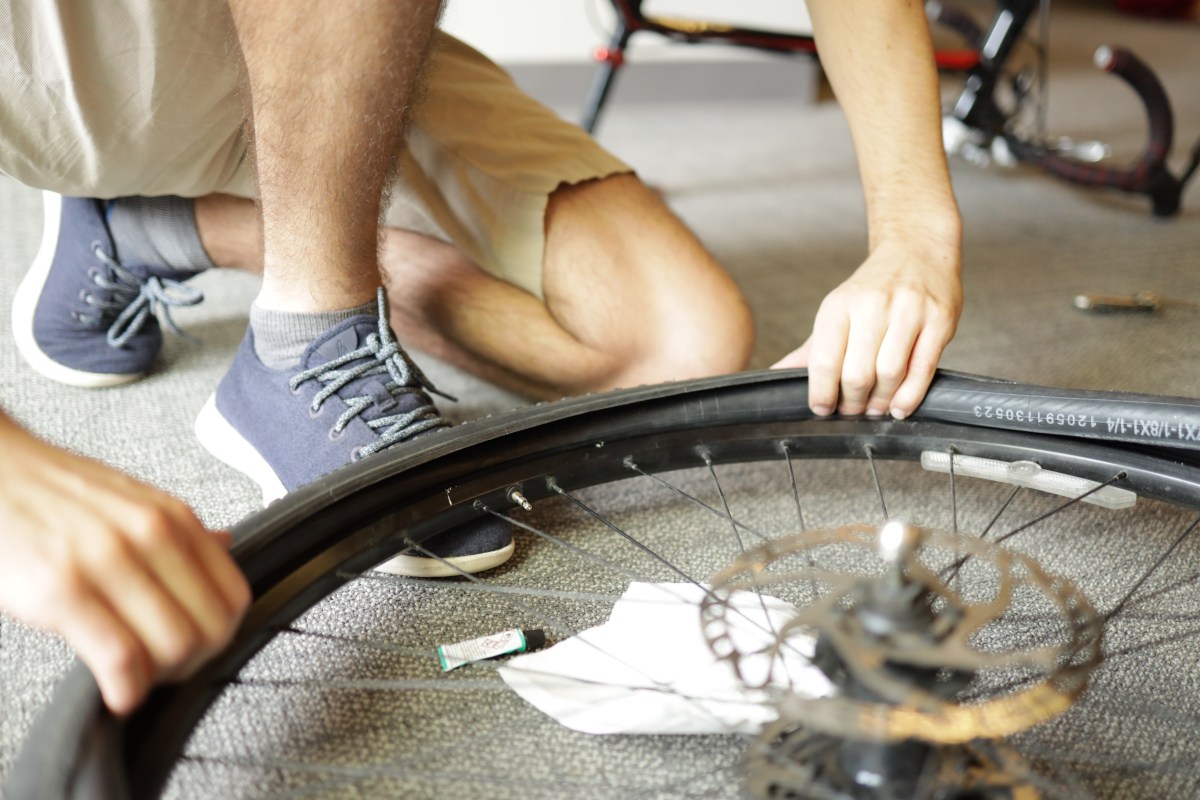
9. Reverse steps 3-6!
The tire levers will help get the tire back on the rim. Careful not to pinch the tube between the two.
![]() PETER’S PRO TIP: Put some air into the inner tube before you put it back into the tire — that’ll help keep it from being pinched between the tire and the rim. Plus, you can hula hoop with it!
PETER’S PRO TIP: Put some air into the inner tube before you put it back into the tire — that’ll help keep it from being pinched between the tire and the rim. Plus, you can hula hoop with it!
Jesse Nichols / Grist
10. Ride off into the sunset
If all goes according to plan, you should be smug and proud and pleased with your supremely competent self. Just pulease, put the tools away first!

Jesse Nichols / Grist
Still confused? The interwebs are full of how-to videos, including this one starring a guy with a really fantastic accent. If all else fails, swallow your pride and ask for help. Many bike shops and clubs have workshops for beginners. Just remember, you don’t have to fix it alone.
*Editor’s note: Grist is not sponsored by KIND Bars… Yet. If you read this, KINDlings, KINDadians, or whoever you are, please email. (And send over a few almond & coconut bars while you’re at it.)