There are thousands of natural materials that make glorious colors in fabric, from rhubarb and dahlias to indigo and groundnuts. Natural dyeing is an ancient tradition, and the techniques behind this art hardly vary across the world (even if styles of textiles may be regional). It’s likely that natural dyeing was informed by cooking, as the process of extracting pigment is exactly like boiling food.
The general process is this: Choose what you would like to dye and dyes, prepare it for dyeing (also known as scour and mordant), then dye and wash. Some of these words might not mean anything at this point (scour and mordant!?), but by the end of this post, you’ll be able to throw them around with ease. You’ll know more about natural dyeing than most people and have resources at your hands should you want to try it.
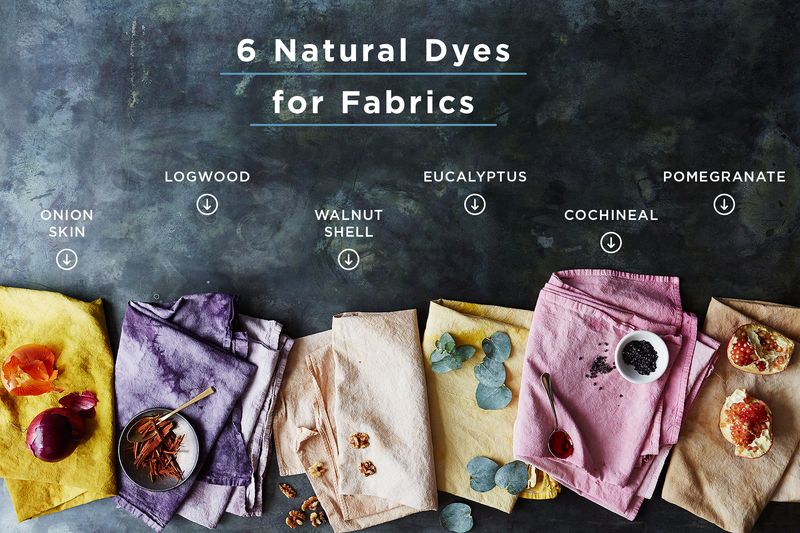
Who knew eucalyptus would dye yellow?!Alpha Smoot / Food52
One of the things to focus on when working with natural dyes is colorfastness, or the quality of keeping the same color, even if washed or placed in the light. Throughout every step of the dyeing process — from selecting fibers to mixing a dyebath — I take every precaution to ensure that the color locks in completely. Here’s an overview of colorfast natural dying at home, and how to dye with both whole and extract ingredients.
1. Select your fibers.
Protein-based fibers, which are animal-based or insect-spun (like wool and silk), have many porous places to catch dye on a microscopic level. Cellulose-based plant fibers (such as cotton and linen) can be particularly tricky to dye — on a microscopic level, they are very slick.
It’s really important that fabric made out of plant-based materials is well washed (in the dyeing world we call this act “scouring”) before it’s dyed (plants have a lot of dye-resistant wax in them). Choose vintage or used linens instead of brand-new pieces, since older material will most likely have been washed many times and therefore have less wax than new ones.
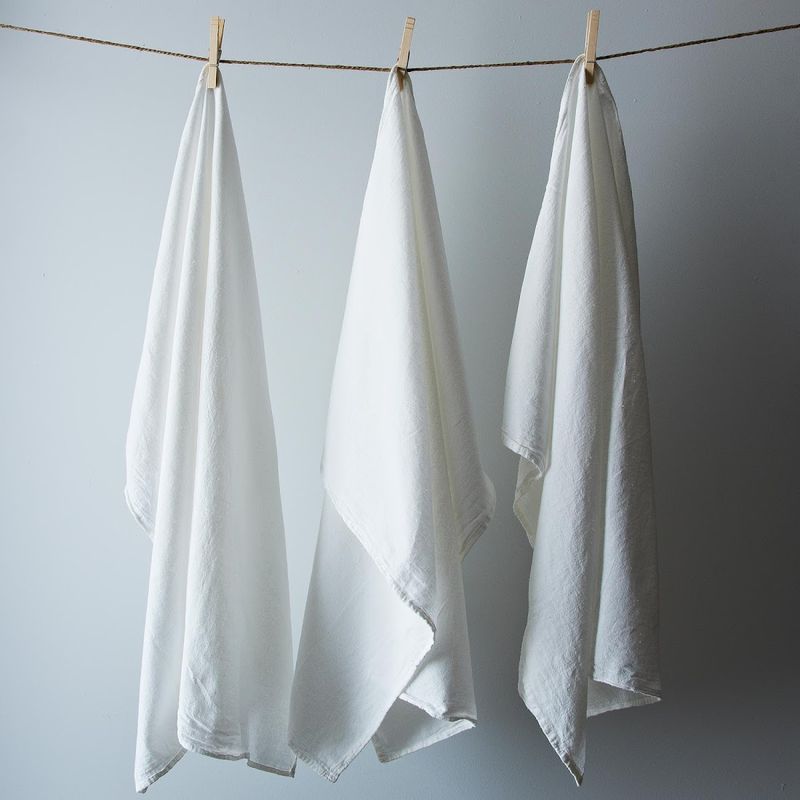
We used, ahem, well-loved flour sack towels from our test kitchen for dyeing.James Ransom / Food52
2. Choose tannin-rich natural dye.
Tannin-rich dyes bond particularly well with cellulose-based fibers like linen and cotton. This means that colors will be saturated and long-lasting. Tannins occur naturally in certain plants and trees — it’s been said their astringent properties help them fight off disease and pests. The more tannins in a dye, the greater the colorfastness; and some ingredients, like tea, have such strong tannins that they don’t require mordanting to affix to the fabric. As you experiment, weigh the fabrics you’re dyeing and record in a journal, then base all measurements of the scour, mordant, and dye on this weight. Referring back to this journal will help you to understand how you achieved a certain color, and will help improve your natural dyeing practice tremendously: You will learn how to create colors you love.
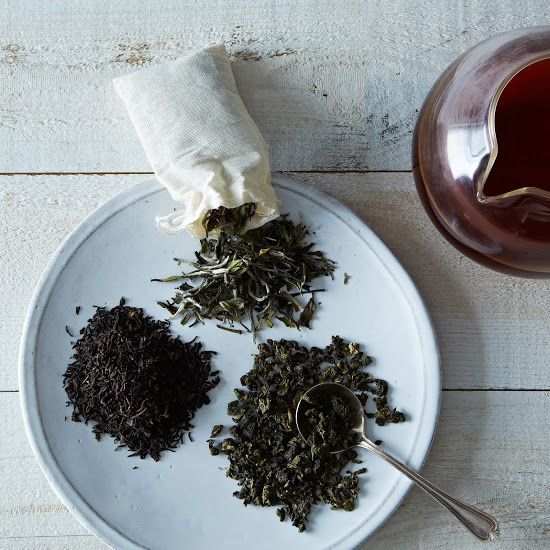
Black tea, your new best friend in colorfastness.Mark Weinberg / Food52
Tannin-rich dyes can also be found in concentrated powders, or extracts, which you can get online through natural dye distributors. When you are getting ready to dye, keep a color palette in mind so your fabrics will go together; thankfully, the hues you’ll find from plants and food will, in general, naturally complement each other.
Note: Not all plants and food are natural dyes — but here are some that are:
- Black tea is loaded with tannins, is easy to find, and makes a great dye.
- Other examples of tannin-rich dyes that can be found or foraged include walnut hulls, green walnuts, oak galls, pomegranate rinds, acorns, and eucalyptus leaves.
- Onion skins (both red and yellow!) make a great dye, as well, though they’ll require a mordant to fix to the material.
- An unusual dye which you’ll probably only be able to find on the internet and has a very interesting history is cochineal (a bug!). It’s the only FDA-approved natural red food coloring.
- I do not suggest using turmeric or most other foodstuffs, since the dye isn’t colorfast.
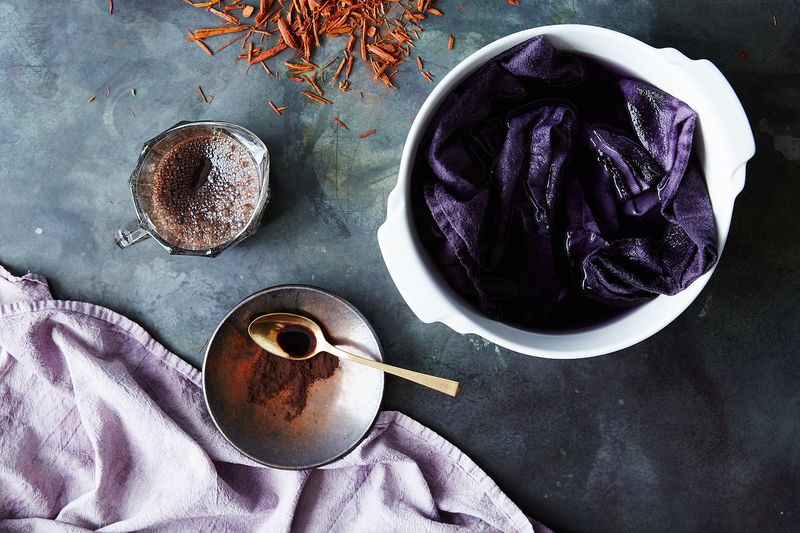
Logwood extract created this rich purple color.Alpha Smoot / Food52
3. Scour and mordant the fabric.
Scour and mordant — sounds pretty medieval, right? But it’s just a little dyeing jargon. No matter what kind of fabric you choose, it’s important to scour, or pre-wash, all of it to remove residue. Scouring helps dye to adhere to the material thoroughly and uniformly, and ensures more saturated colors. For protein-based fabrics, a mild dishwashing detergent will do the trick, and for cellulose-based fabrics, you’ll want to use soda ash to scour.
Next, mordant. A mordant is a naturally occurring, water-soluble metallic salt that bonds the dye to the fiber and acts as a binder, which you can choose to apply to the fabric after scouring. For animal fibers, use mordant with a slurry of aluminum potassium sulfate, and for plant fibers, use aluminum acetate followed by a wheat bran bath (your fabric will be getting a proper spa treatment). Using mordant makes many dyes colorfast and drastically opens the range of color one can get using natural dyes.
Note: Both scouring and mordanting require soaking your fabric in a solution, sometimes on the stovetop. You’ll want to check the exact times and proportions required for the fabric you’re using before proceeding.
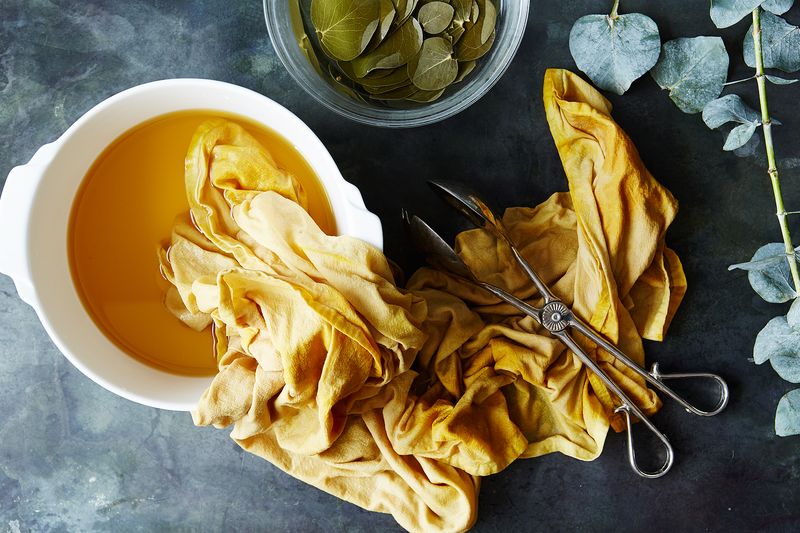
Eucalyptus in all its goldenrod glory (and it can dye as deep as rich red, too).Alpha Smoot / Food52
4. Prepare the dyebath and dye the fabric.
Depending on the fabric and dye you choose, the exact process and measurements for the dyebath will vary. Keep in mind that because water acts like the color white, and will make the dye lighter, using less of it will create a more concentrated color. Read up on what you’re using to find the exact recipe, record your findings to inform future dyes, and use these dyebath tips:
- When using natural dyeing extracts, or concentrated powders derived from plants (and one insect, cochineal), the resulting colors will pack a concentrated punch. You can use very little and get saturated color — and they are easy to store. When using whole dyestuffs, you’re going to need more to get more; something closer to a one-to-one ratio of dyestuff to the weight of the fabric you are dyeing to achieve a medium shade of color.
- You’ll want to add linens to the dyebath when they’re still wet from the washing process; if they’re dry, just wet them in a bucket of warm water. You can also dye and re-dye fabric as much as you like after scouring and mordanting just once. This is especially helpful if you have created a color you don’t like! Sometimes, by dyeing a piece a second or third time, the color grows more complex and interesting.
Here is what you need to get started. If you want to learn more and start creating your own colors, get deeper by visiting my blog.

